

Dec 4th 2024
Kenworth Blower Motor Upgrade Kit Install
This post will help you install your Kenworth blower motor upgrade kit. This video will help you install an upgrade kit for the models listed below. Your T660, T270, T300, & T370 trucks will be slightly different, but the material in this post will show almost everything you need to know.
- W900
- T800
- T600
- T660
- T300
- T370
Products mentioned in this video:
- Upgrade Kit for W900, T800, T660, T600, T400, C500
- Upgrade Kit for T270, T300, T370
- Stainless Steel Kenworth HVAC Box
Video Transcript:
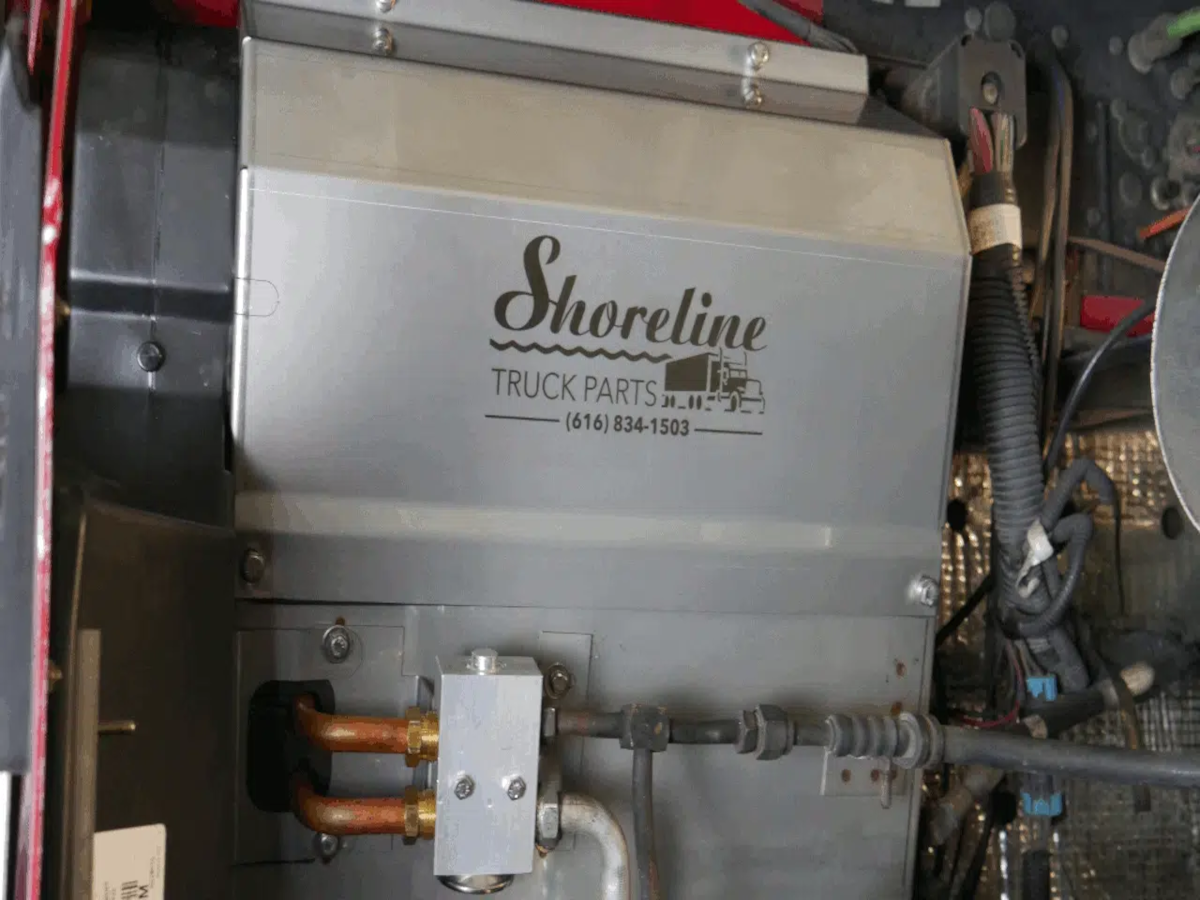
Hi, I'm Jon Lewis with Shoreline Truck Parts.
In this video, we're going to show you how to install the Kenworth Upgrade Kit. We made some changes to our upgrade kit, so we needed to create another video. So in this video, we're gonna take some old clips from the past and also give you some clips from the shop where we have better lighting so you can see what's going on. So let's get started!
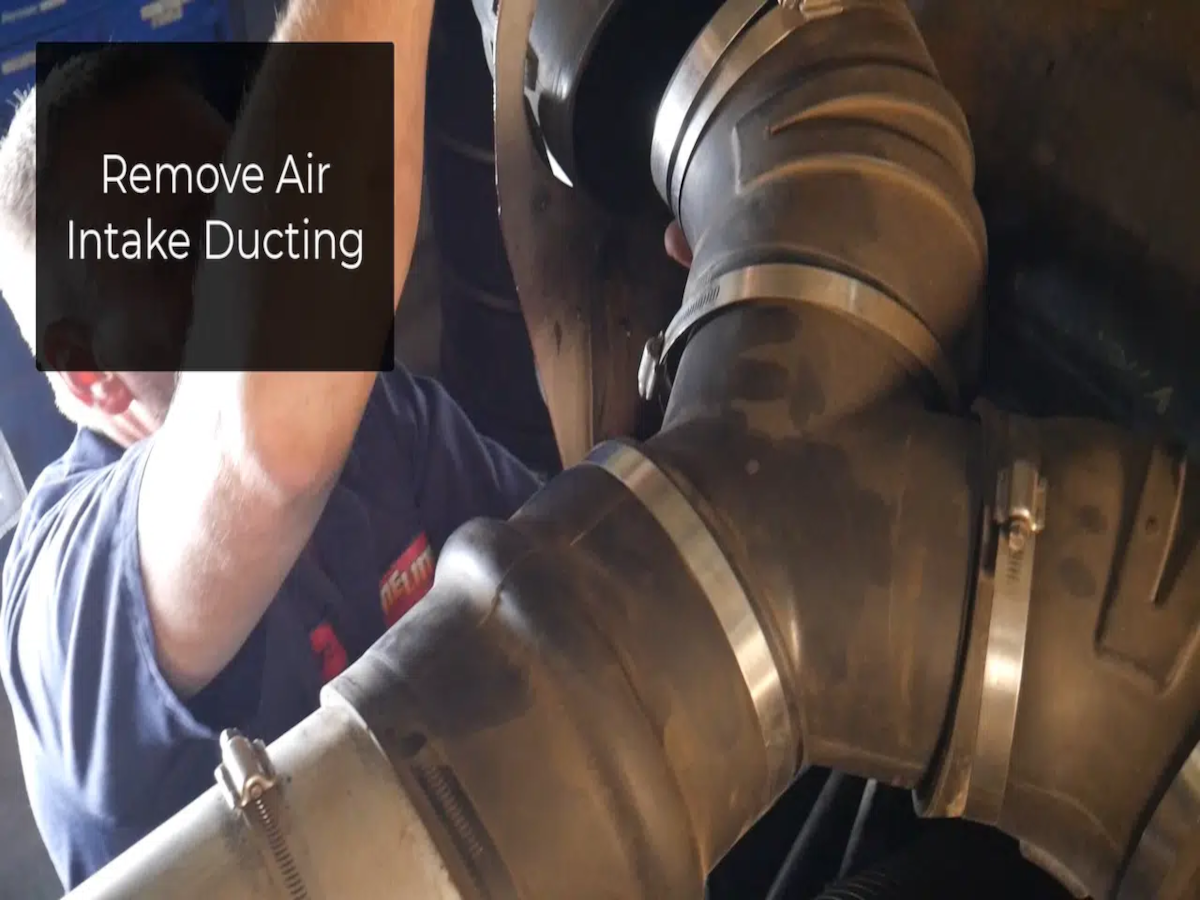
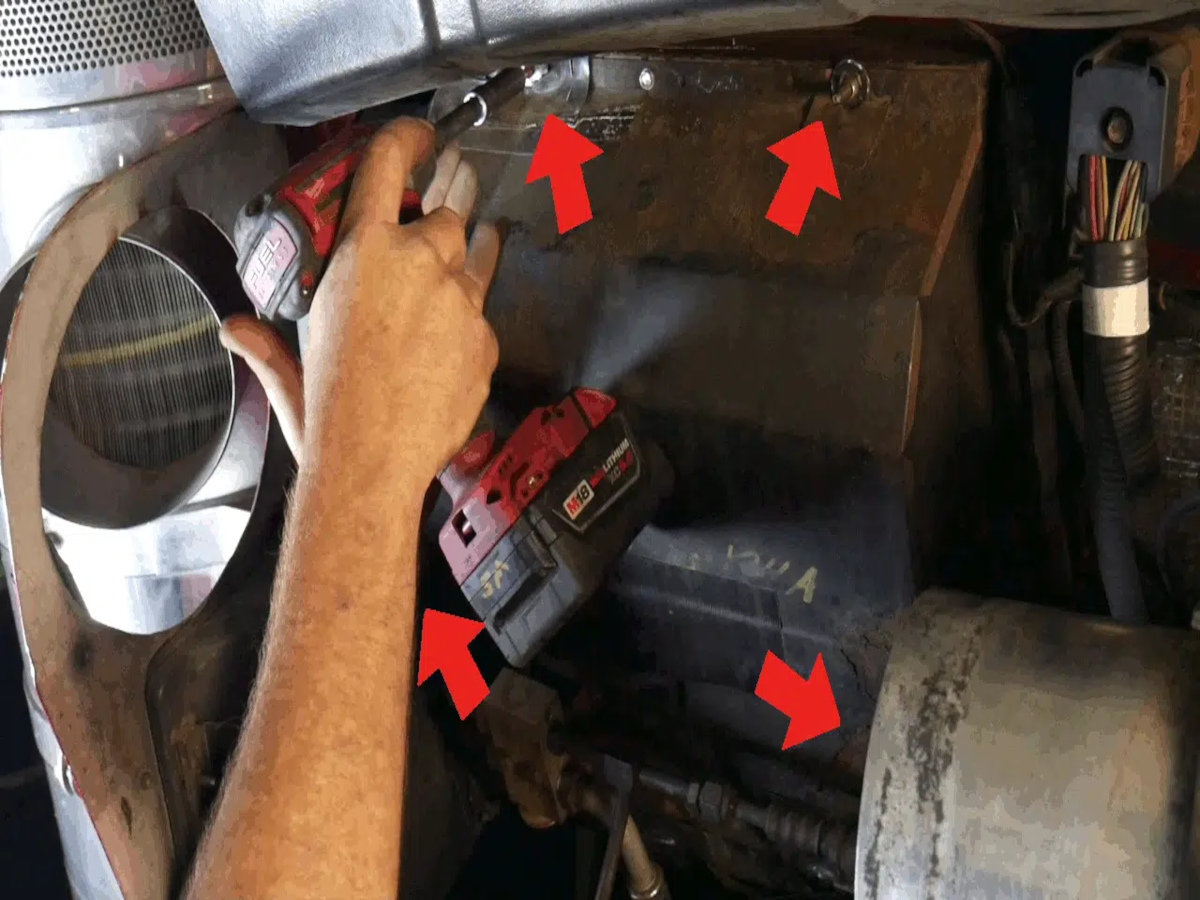
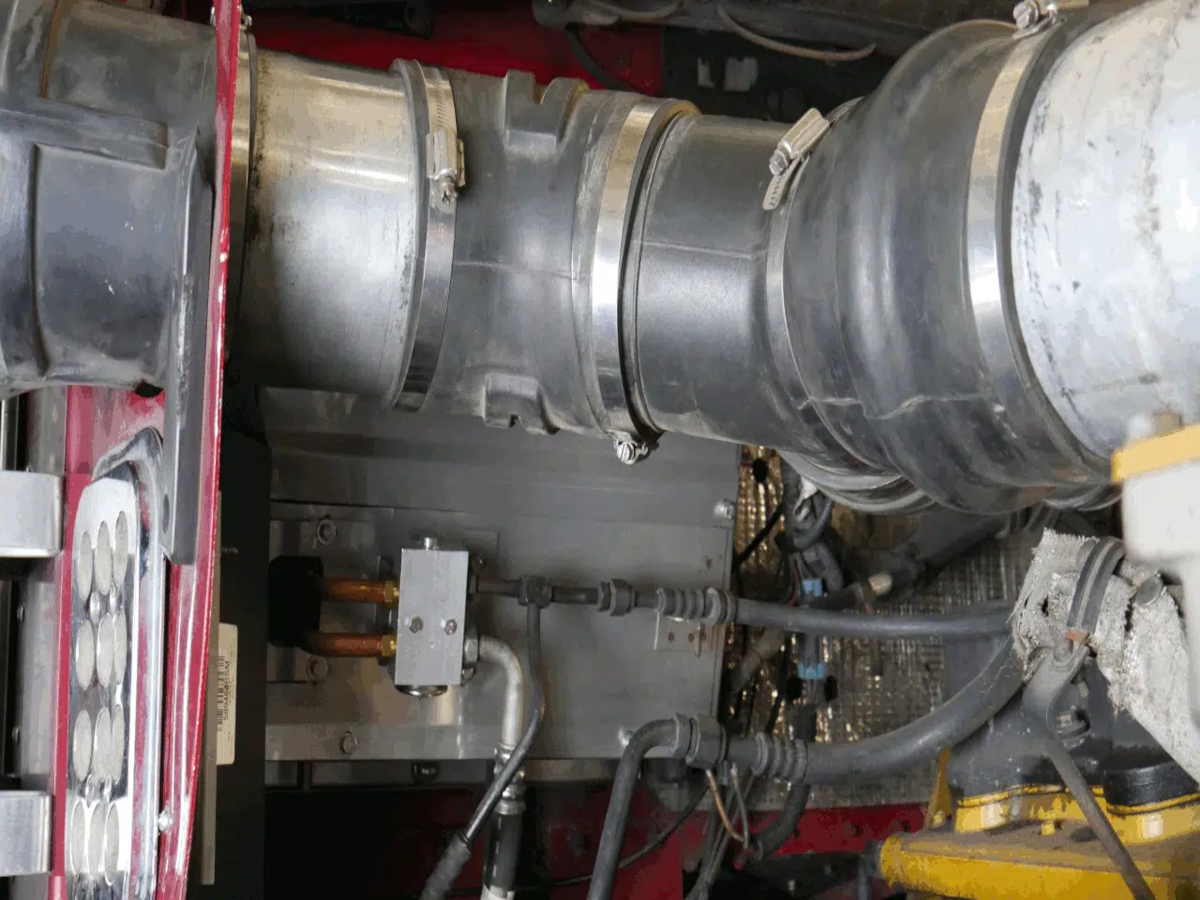
First thing we need to do is remove the air intake ducting. Next, we're gonna remove the (4) 10MM bolts to hold the lid to the heater box. And if you have duct tape, remove that as well, and I'm gonna say if you do have duct tape on the lid of your box, you probably need to replace the whole entire box.
And we do sell stainless steel boxes, so you can check those out in the link below. Once you remove the (4) 10MM bolts, you can then remove the lid and unhook your wiring harness from your blower motor.
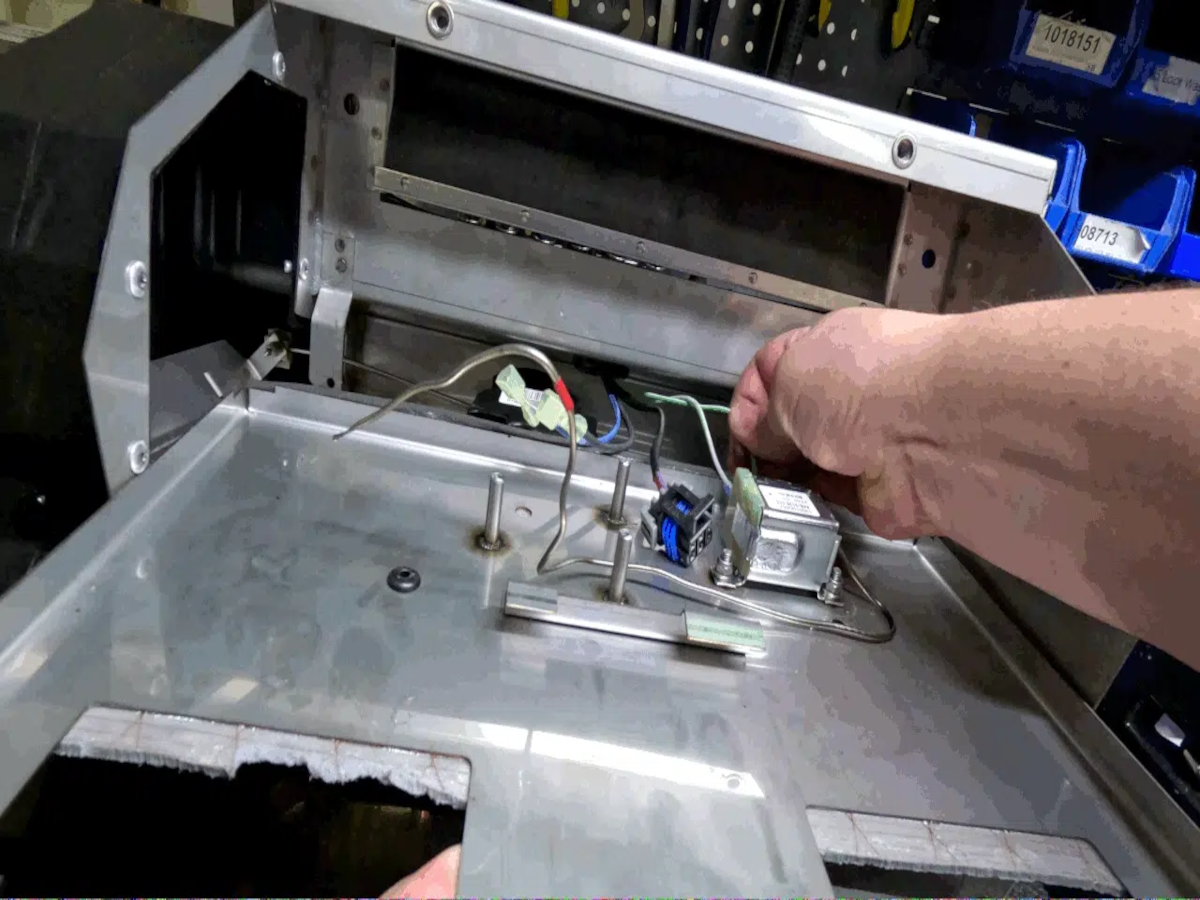
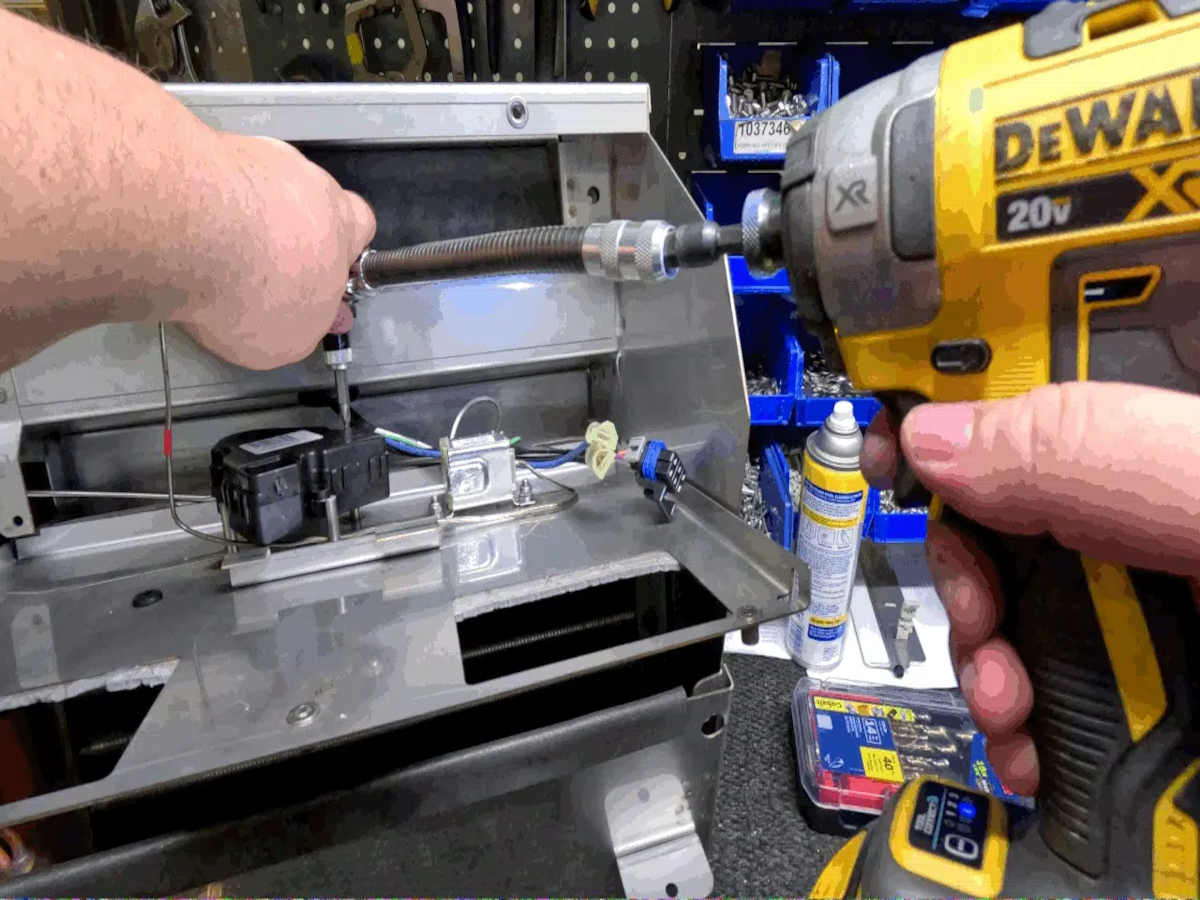
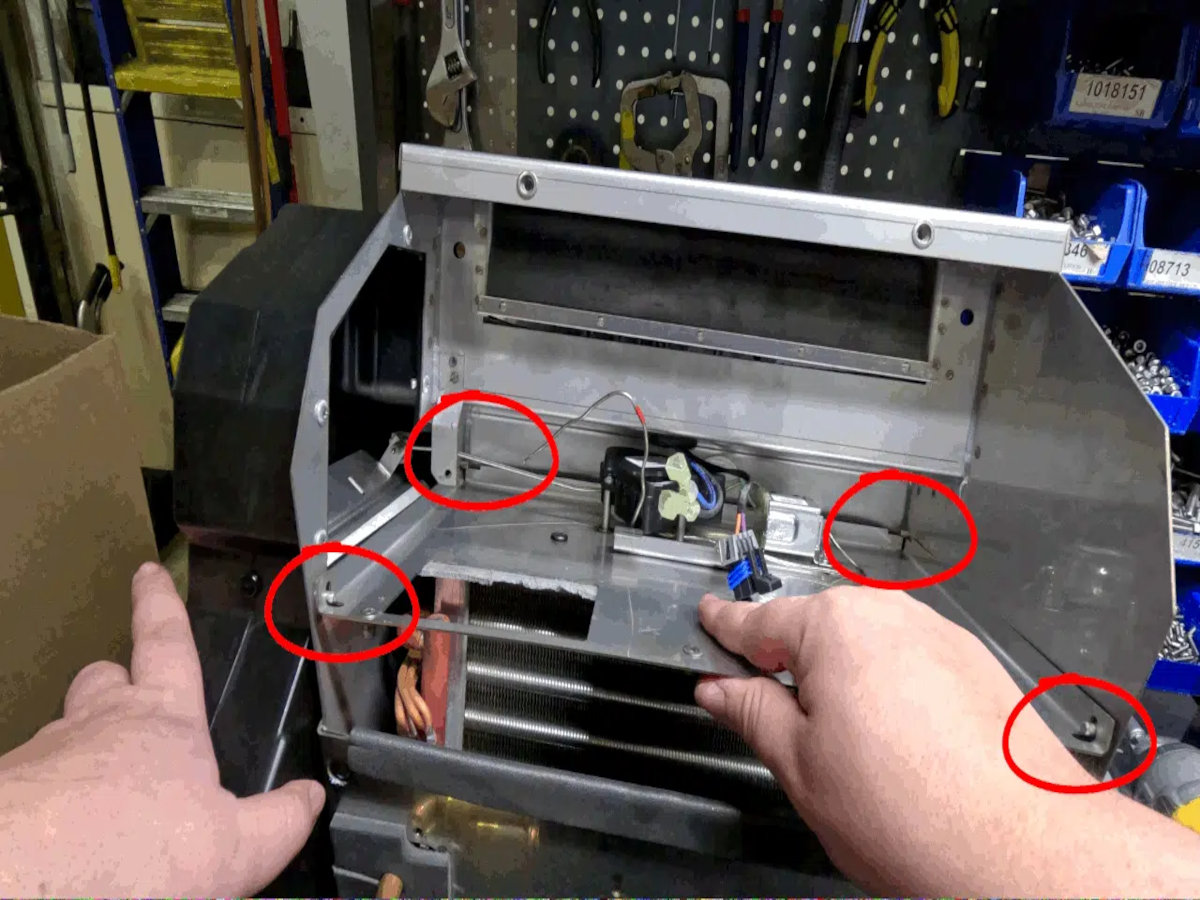
Now we're gonna remove the baffle plate. First thing we're gonna do is remove the freeze switch probe and then the wiring harness from the electronic actuator. Then we will use a Phillips screwdriver or a Phillips bit to remove the electronic actuator. There are three Phillip screws holding the actuator in place. Lastly, we'll remove the two wires connected to your freeze switch, and then we will completely remove the baffle plate.
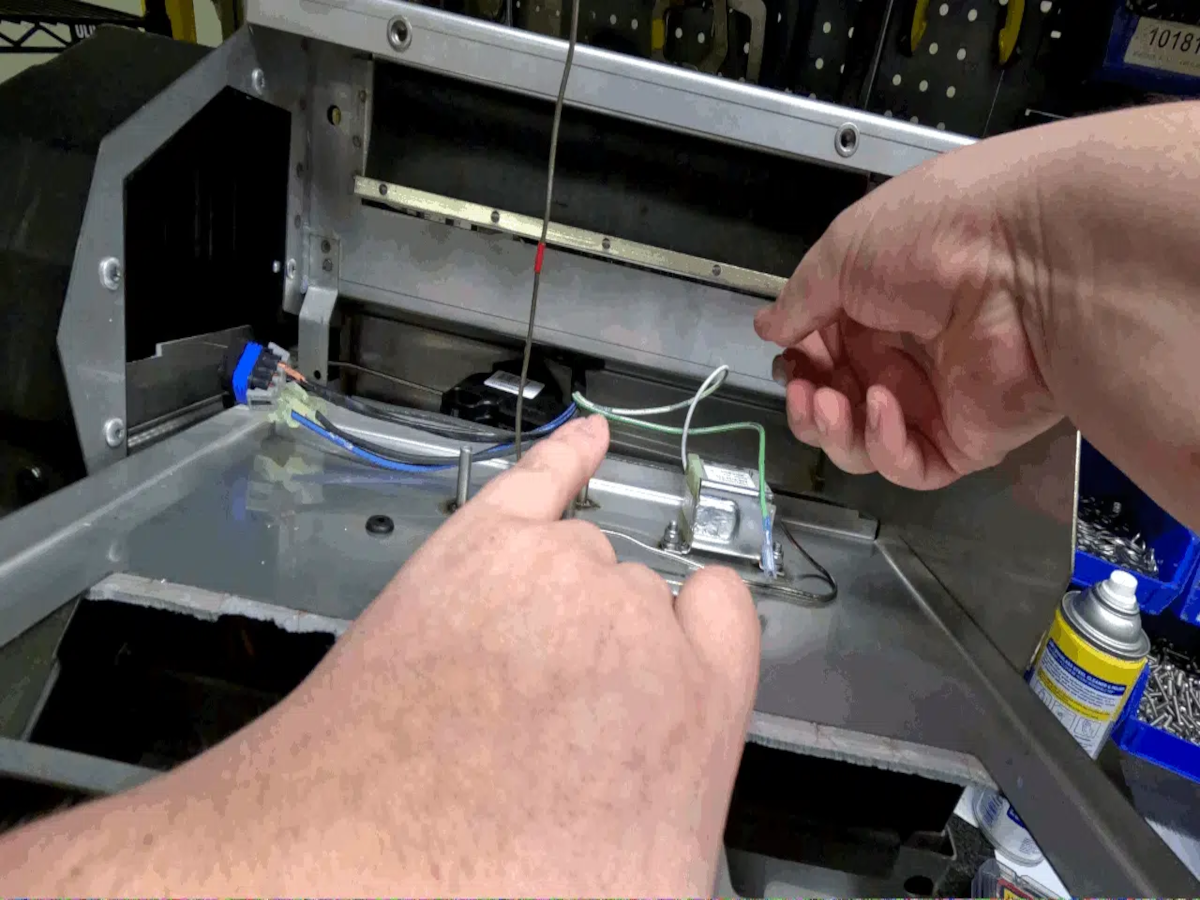
Now, we're going to reattach the freeze switch, the baffle plate using the two supplied five-millimeter lock nuts and then begin to answer the baffle plate into the box, reattach the two green wires to your free switch and note that it does not matter which terminal that you put the green wires on either one will work just fine using the three supply Phillips screws.
Go ahead and reinstall your electronic actuator to the baffle plate. If your actuator rod fell out of your control arm and disconnected from your actuator.
Here's a short video showing you how to attach the fresh air door to the control rod and the control rod arm. And as well as your actuator. Now plug the wiring harness into the electronic actuator and begin to slide the baffle plate back into position.
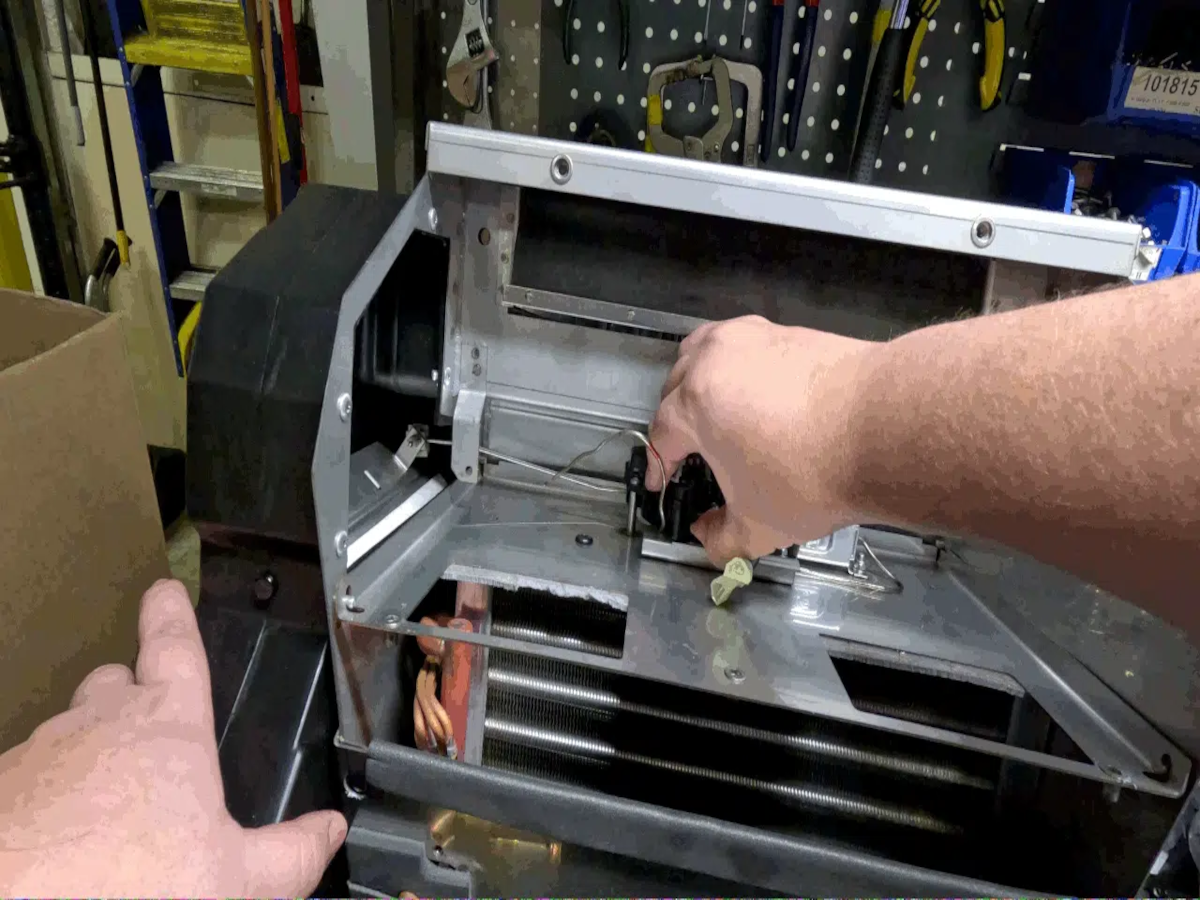
Note that the two back lock pins, the baffle plate goes underneath the two back lock pins and over the top of the two front lock pins. Now enter the freeze switch probe into the rubber grommet.
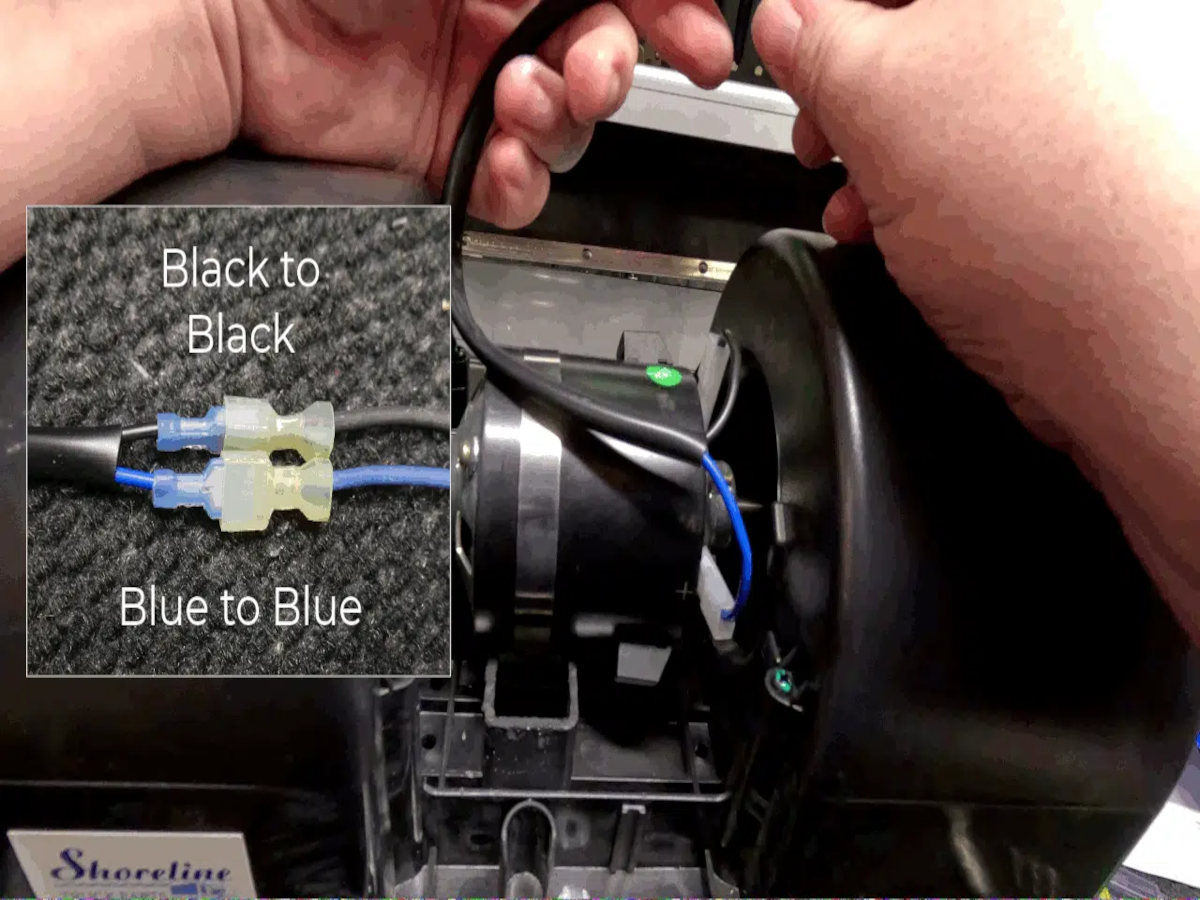
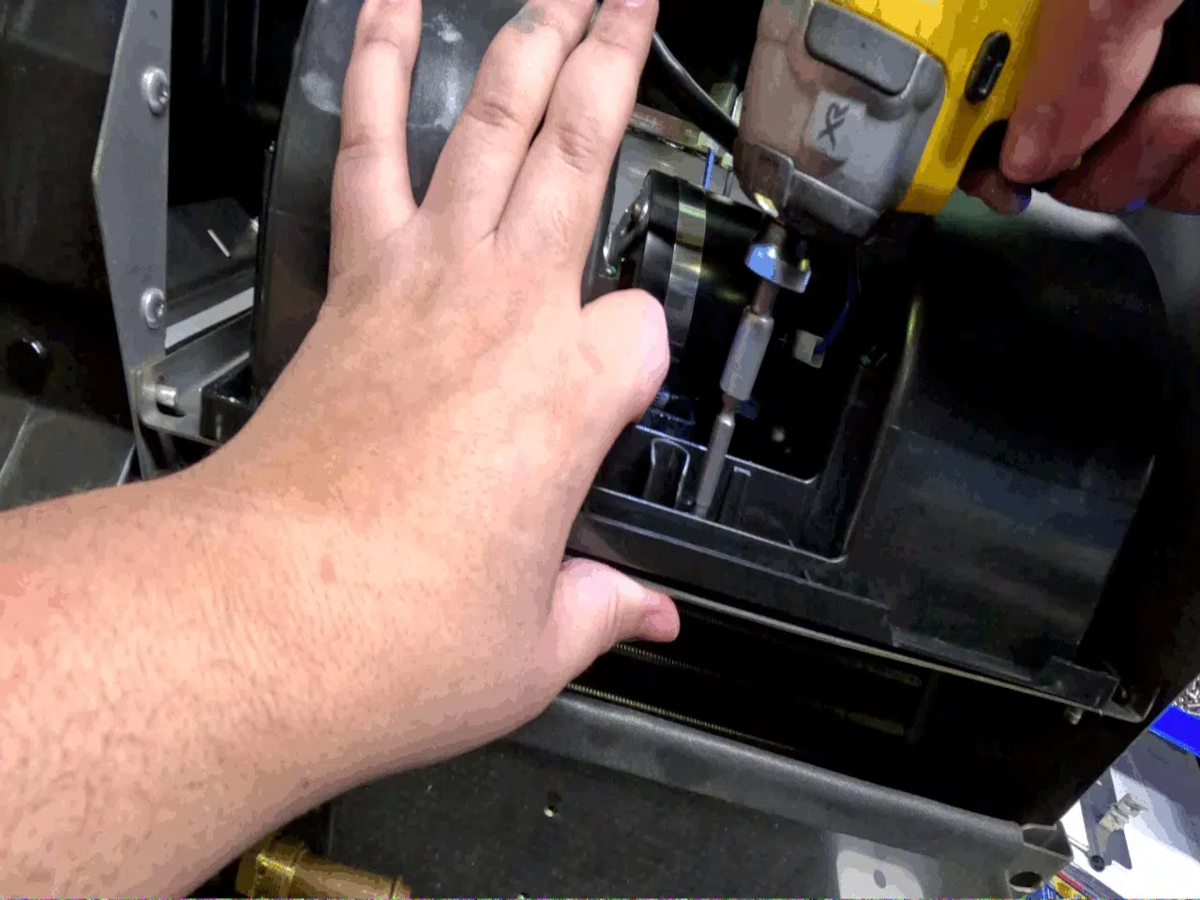
You'll want to enter it into the red line and stop at that point. Now we can begin to install the blower motor plug in the two wires to the blower motor. Make sure black is connected to black and the blue and black stripe is connected to the blue wire using three supplied 5MM screws to reattach the blower motor. Now, once all this is done, we can reattach the lid with the (4) 10MM bolts, reattach our fresh air ducting, and then you're all set to go.
I want to thank you very much for watching this video. If you have any questions about the upgrade kit, feel free to give us a call at 616-83 4-1503. Again, that's 616-834-1503. Or send us a text to that number and also receive text there. And if you'd like to purchase the upgrade kit, know that the upgrade kit is in the link below. Thank you again for watching. Have a great day, and we will talk to you later.
Step-by-Step Instructions
Below you will find step-by-step instructions to install your Kenworth Blower Motor Upgrade Kit. Some of the shots were taken inside our shop so you can better see what's going on. If you are having problems connecting all the parts to the actuator, there are bonus instructions towards the bottom of this page. These instructions will guide you in reconnecting the control rod and control arm to the actuator and fresh air door.
Step 1 – Remove the Air Intake Ducting
Step 2 – Remove Lid from the HVAC Box (4) 10mm Bolts
Step 3 – Unhook Blower Motor
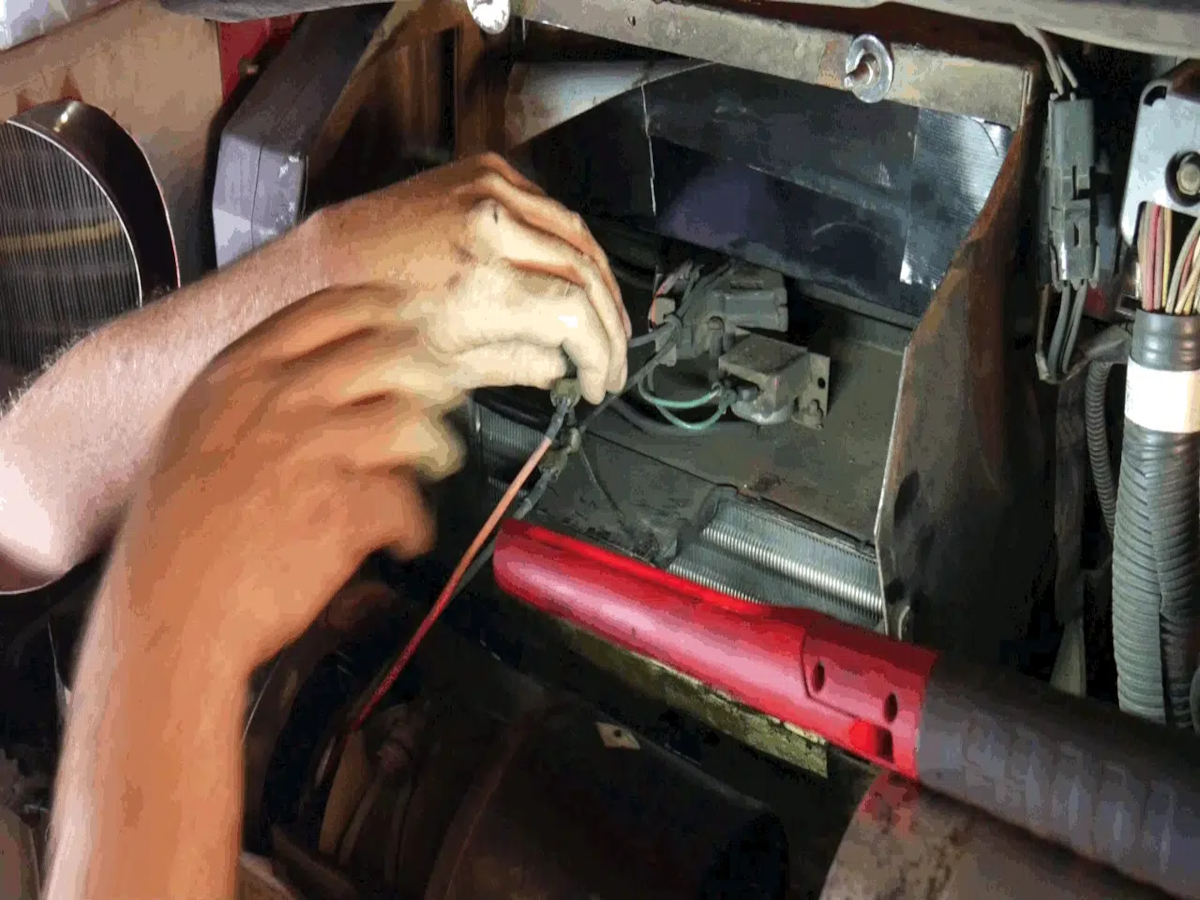
Step 4 – Remove Freeze Switch Probe

Step 5 – Unplug Wiring Harness from Actuator

Step 6– Remove Actuator (3) Phillips Screws
Step 7 – Remove Wires from Freeze Switch

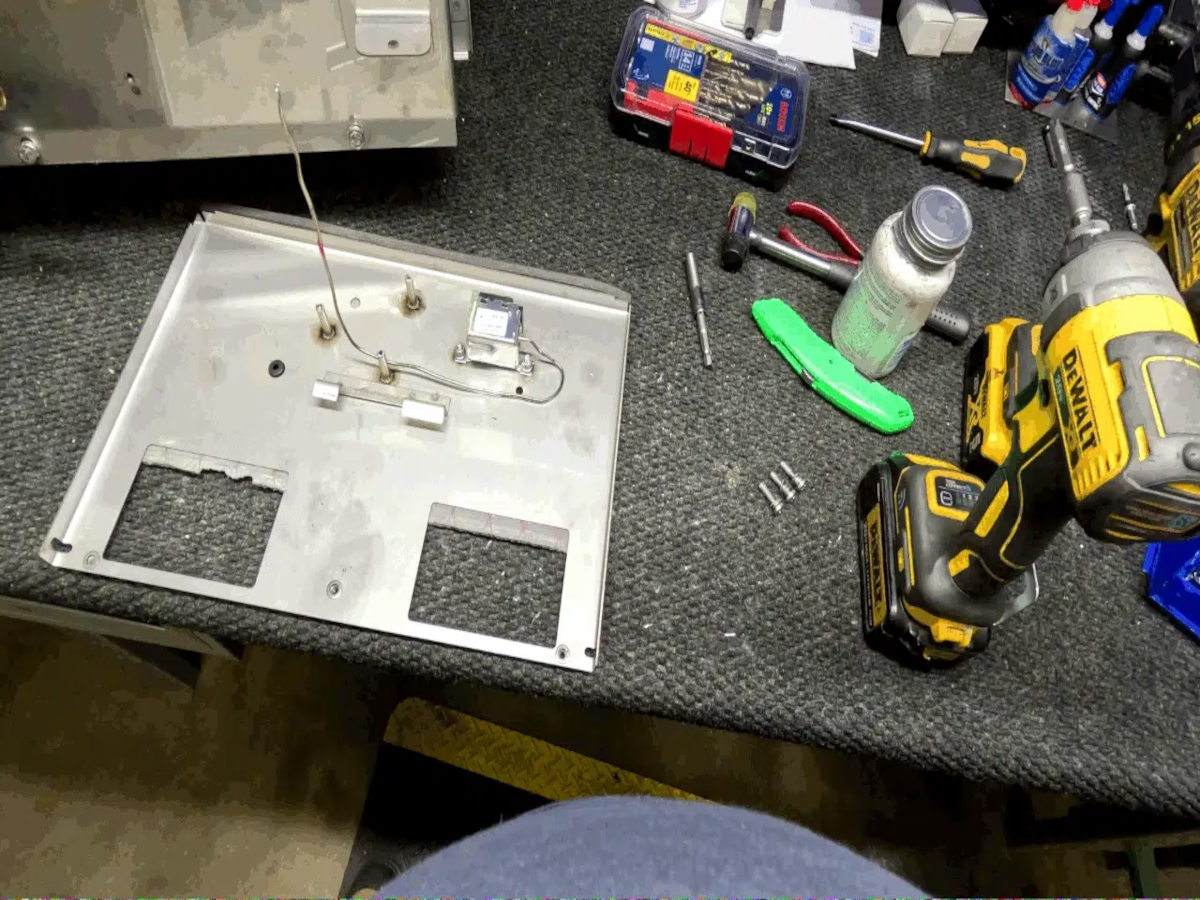
Step 8 – Remove Old Baffle Plate

Step 9 – Attach Old Freeze Switch to Baffle Plate
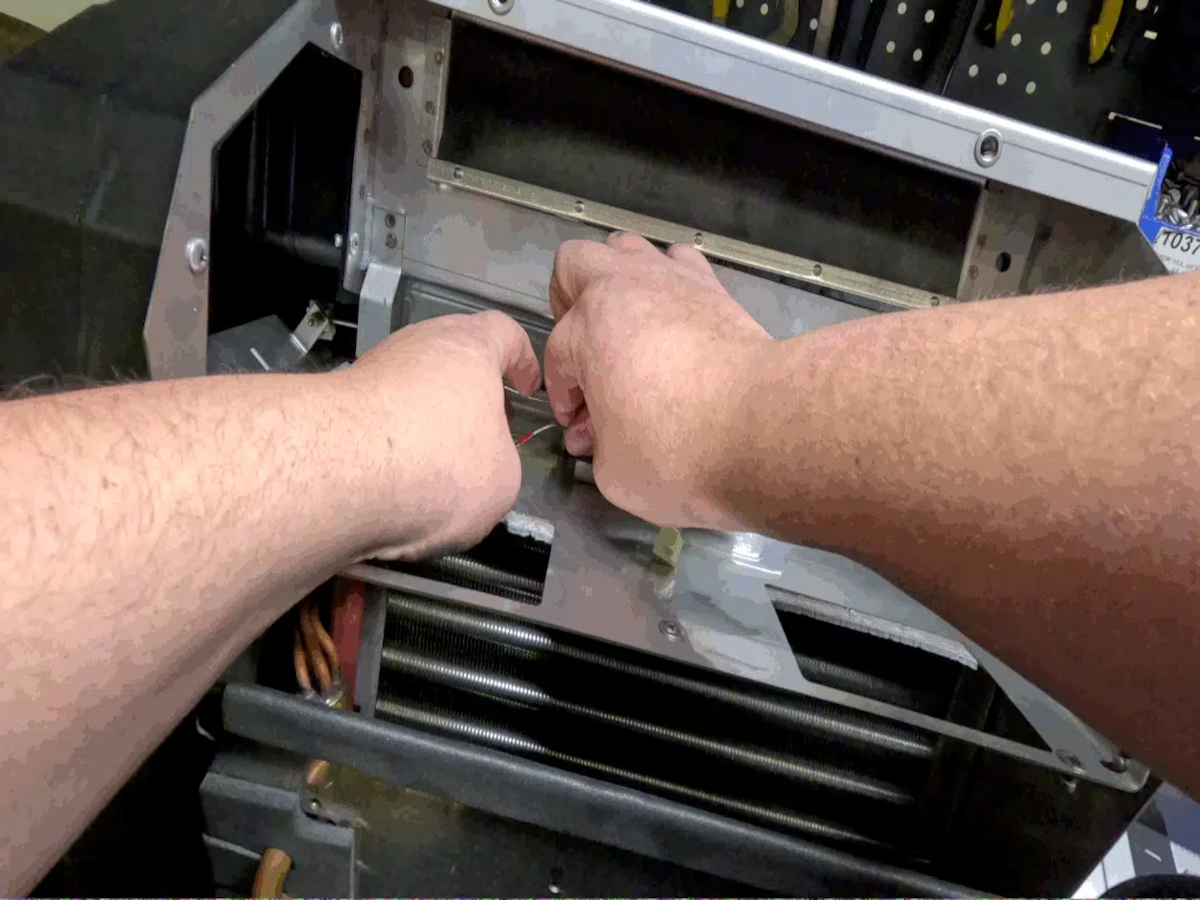
Step 10 – Insert New Baffle Plate
Step 11 – Re-install Actuator (3) Philips Screws
Step 12 – Plug in Wiring Harness into Actuator
Step 13 – Reattach Green Wires to Freeze Switch (Any Terminal That You Wish. There's No Polarity.)
Step 14 – Lock Baffle Plate into Place. Back of Baffle Goes Under Pins Front Goes on Top of Pins
Step 15 – Insert Freeze Switch Probe to Red Line
Step 16 – Plug in Blower Motor - Black Wire to Black Blue to Blue
Step 17 – Attach Blower Motor with Phillip's Head Fasteners
Step 18 – Fasten Lid with (4) 10mm Bolts Supplied
Step 19 – Reattach Fresh Air Ducting
Step 20 – Enjoy Upgraded Air Flow!
Step-by-Step Instructions for Electronic Actuator, Control Rod, Control Arm, Fresh Air Door
If you're having trouble reconnecting the electronic actuator in your Kenworth truck. Here are some instructions that should help. From our experience, it's best that the fresh air door is already installed in the fresh air duct. To give you a better view, we're showing what the installation would look like on a bench.
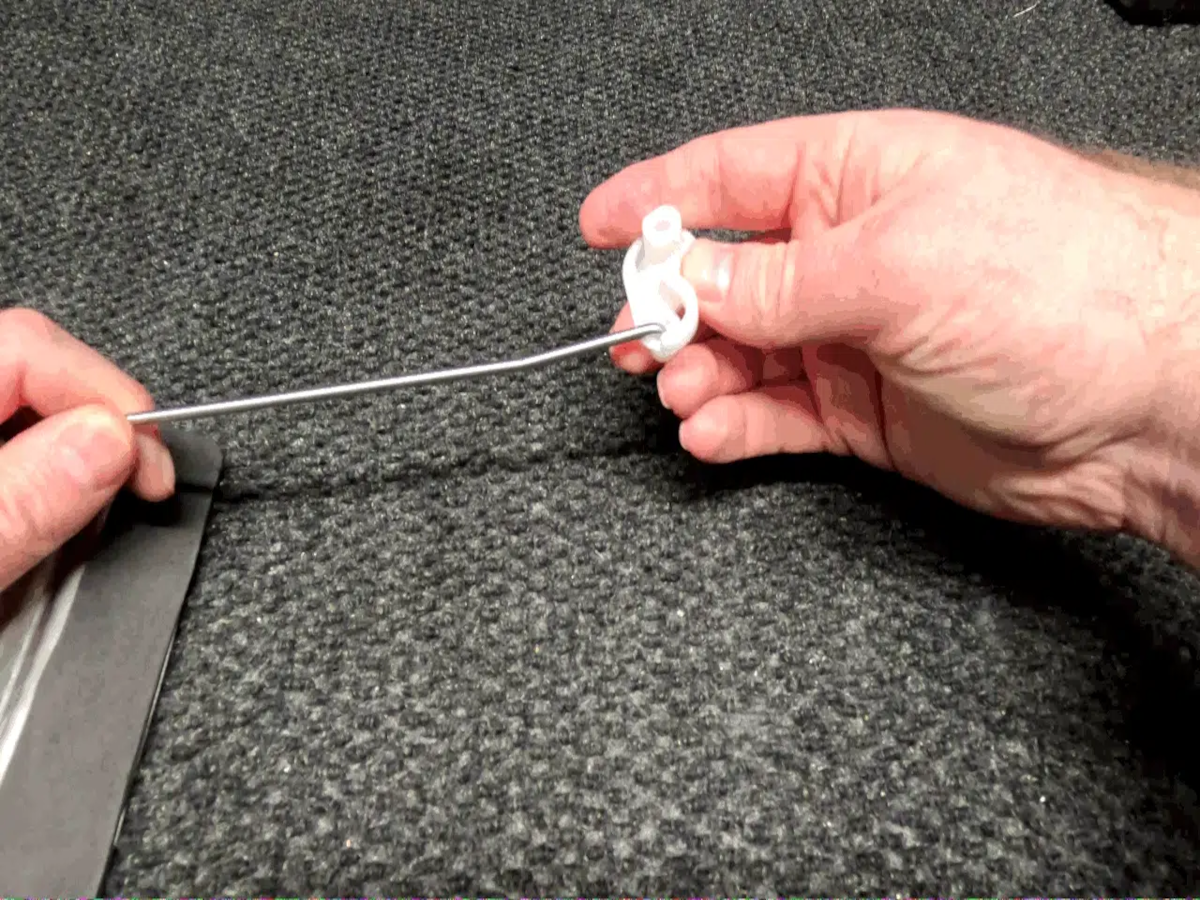
Step 1 – Insert Control Rod into Fresh Air Door. Snap Plastic Piece Closed.
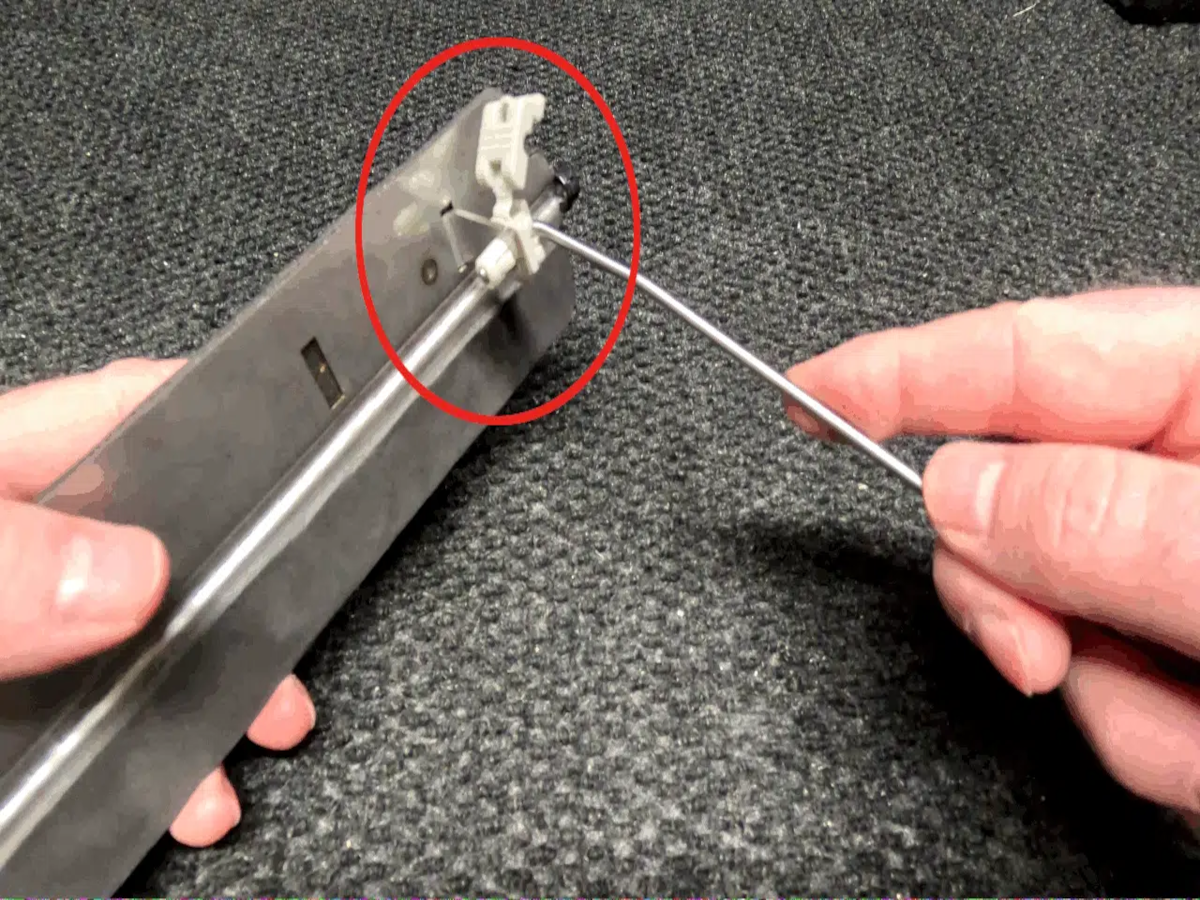
Step 2 – Attach Control Arm to Control Rod
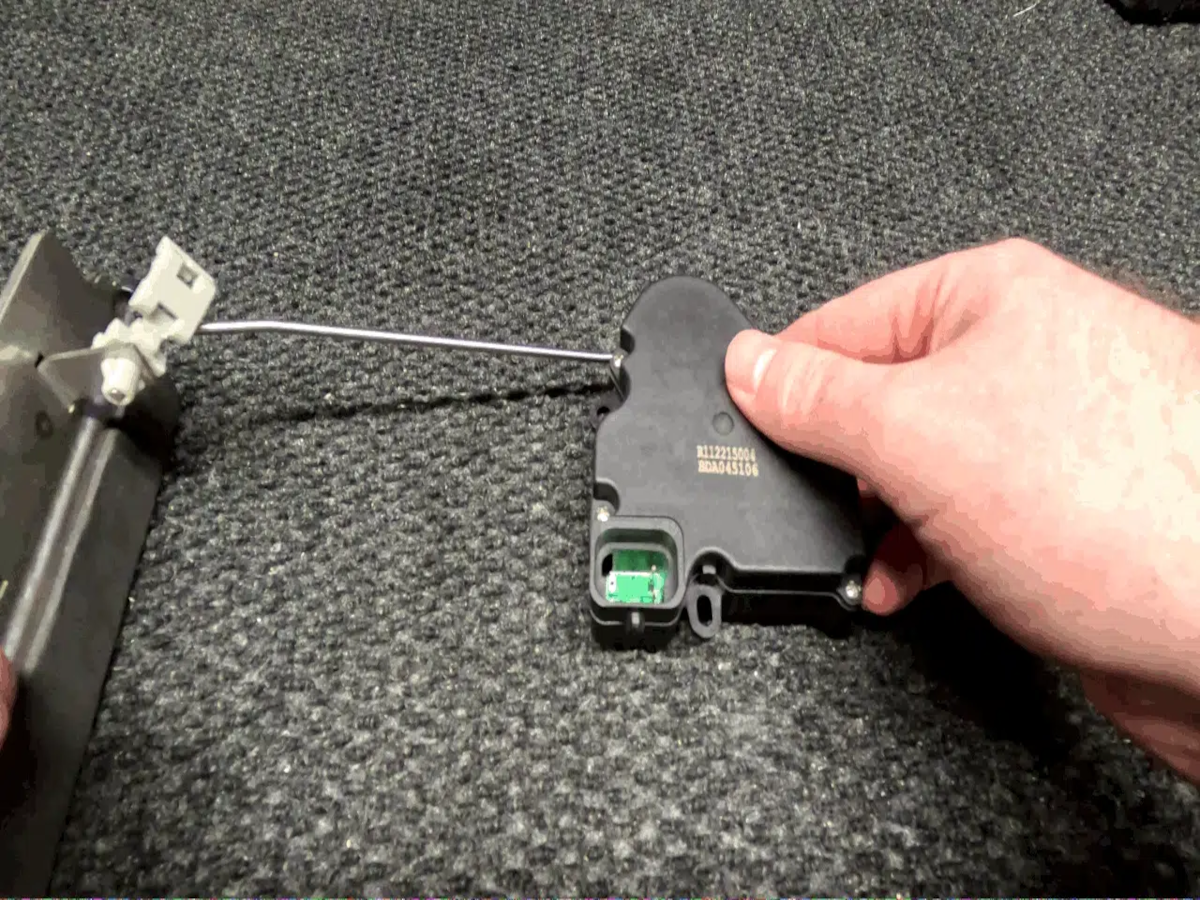
Step 3 – Insert Control Arm into Actuator

Finished Product
Thank You
Thank you for checking out our tutorial. If you have any questions, feel free to reach out to us at (616) 834-1503.