

Dec 3rd 2024
Kenworth Heater Box Removal and Installation
Intro
This heater box installation was done on a Kenworth T800 using one of our Standard boxes. We also have instructions for some of our Premium/plug & play boxes as well, which can be found here. Every truck is different, but close enough that these instructions will assist you to remove and install your Standard Kenworth heater box for the following model of trucks.
- W900
- T800
- T600
- T660
- T300
- T370
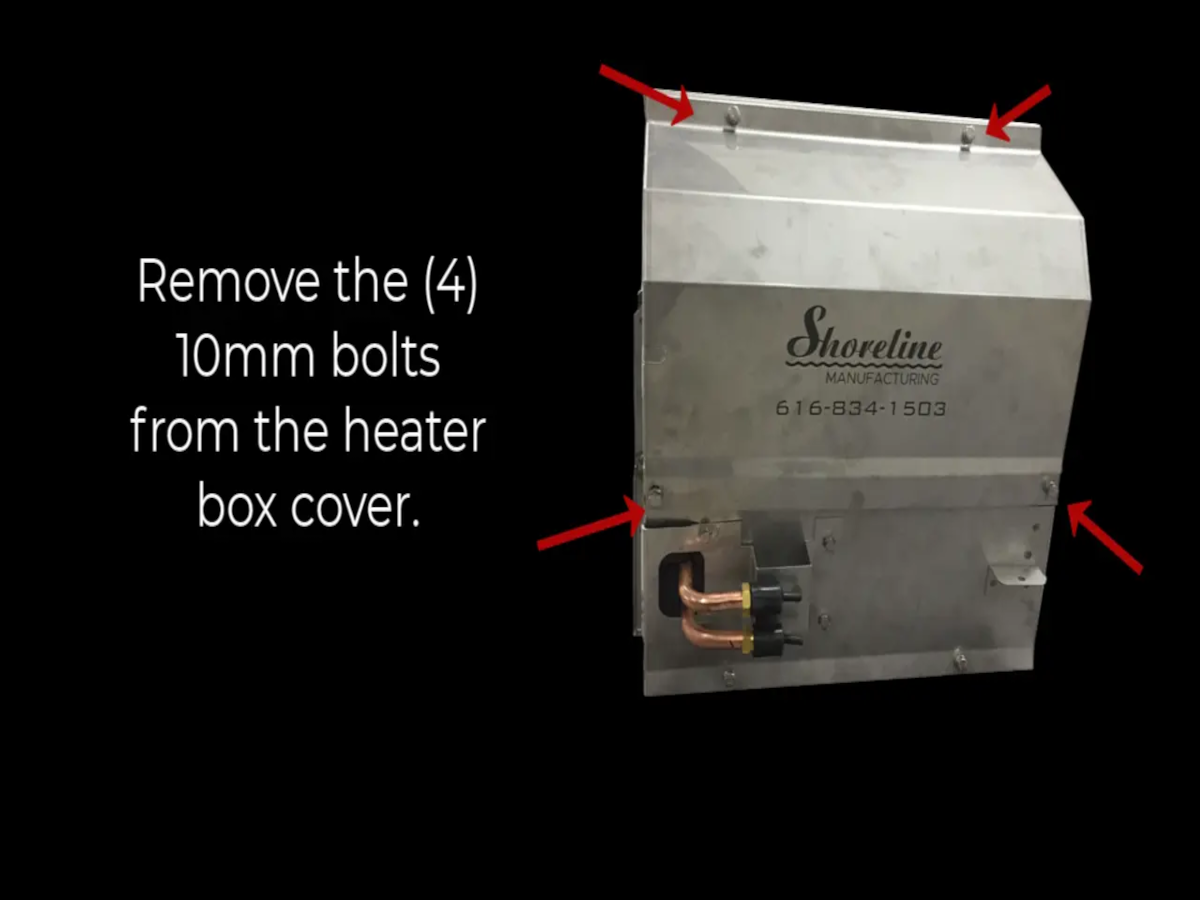
Step 1 – Remove the (4) 10 mm bolts from the heater box cover.
Step 2 – Remove the blower cover.
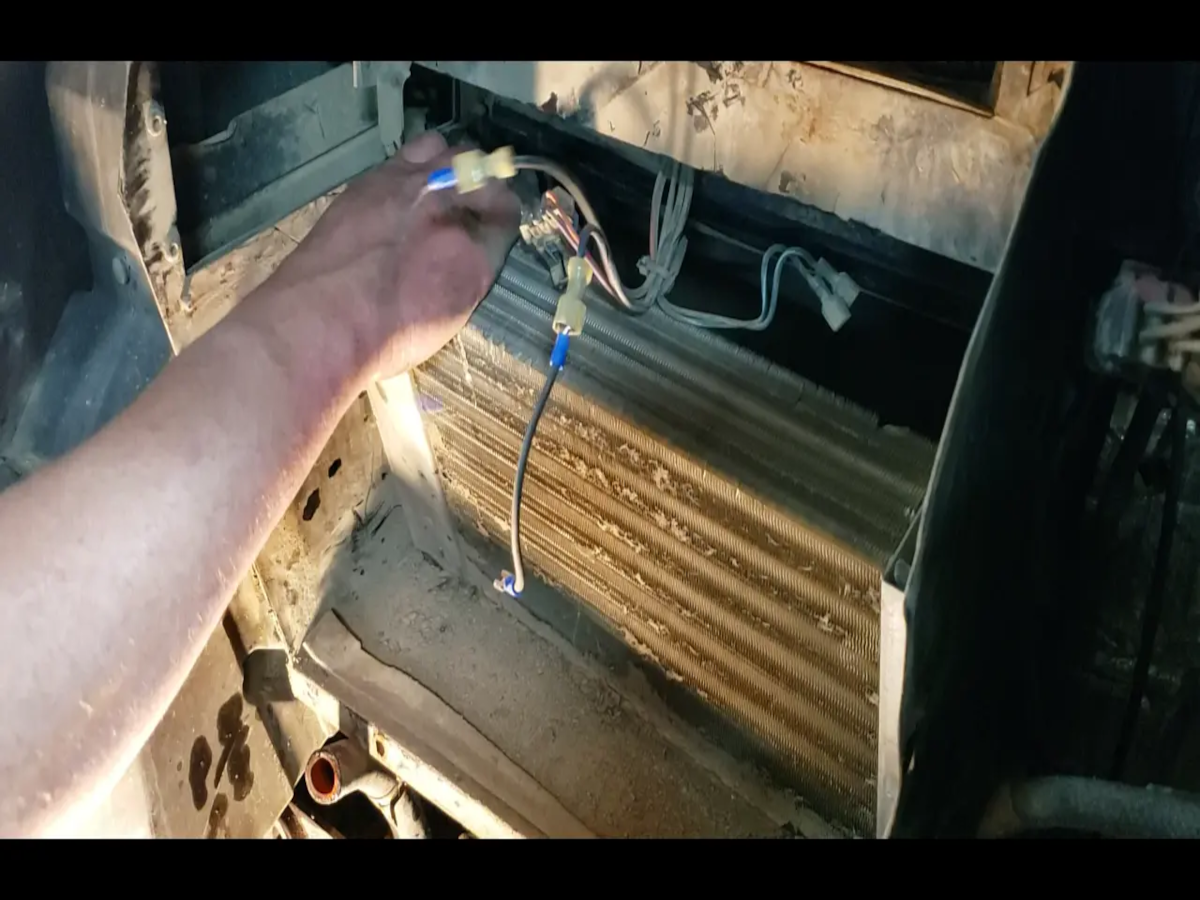
Step 3 – Unhook the blower motor from the wiring harness.

Step 4 – Remove the (2) 8mm nuts from the freeze switch.
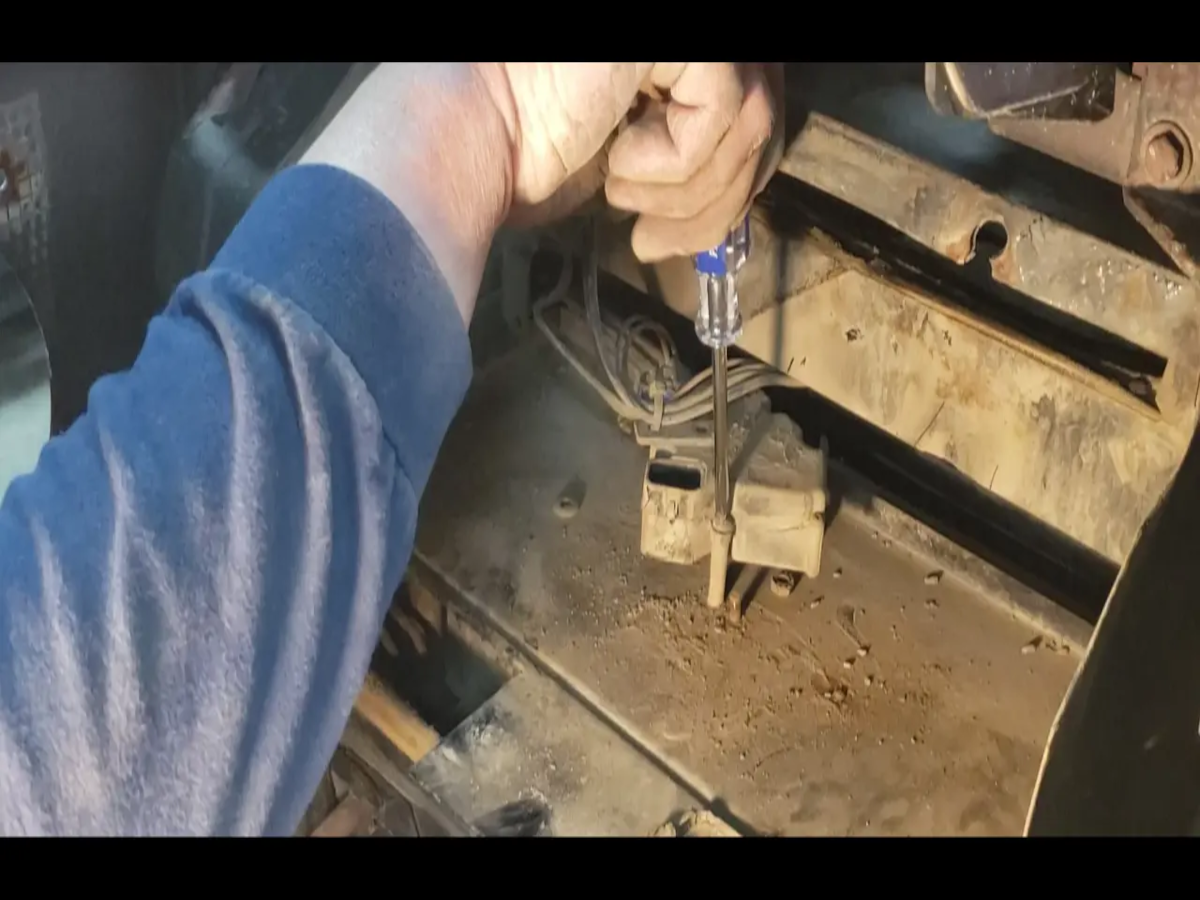
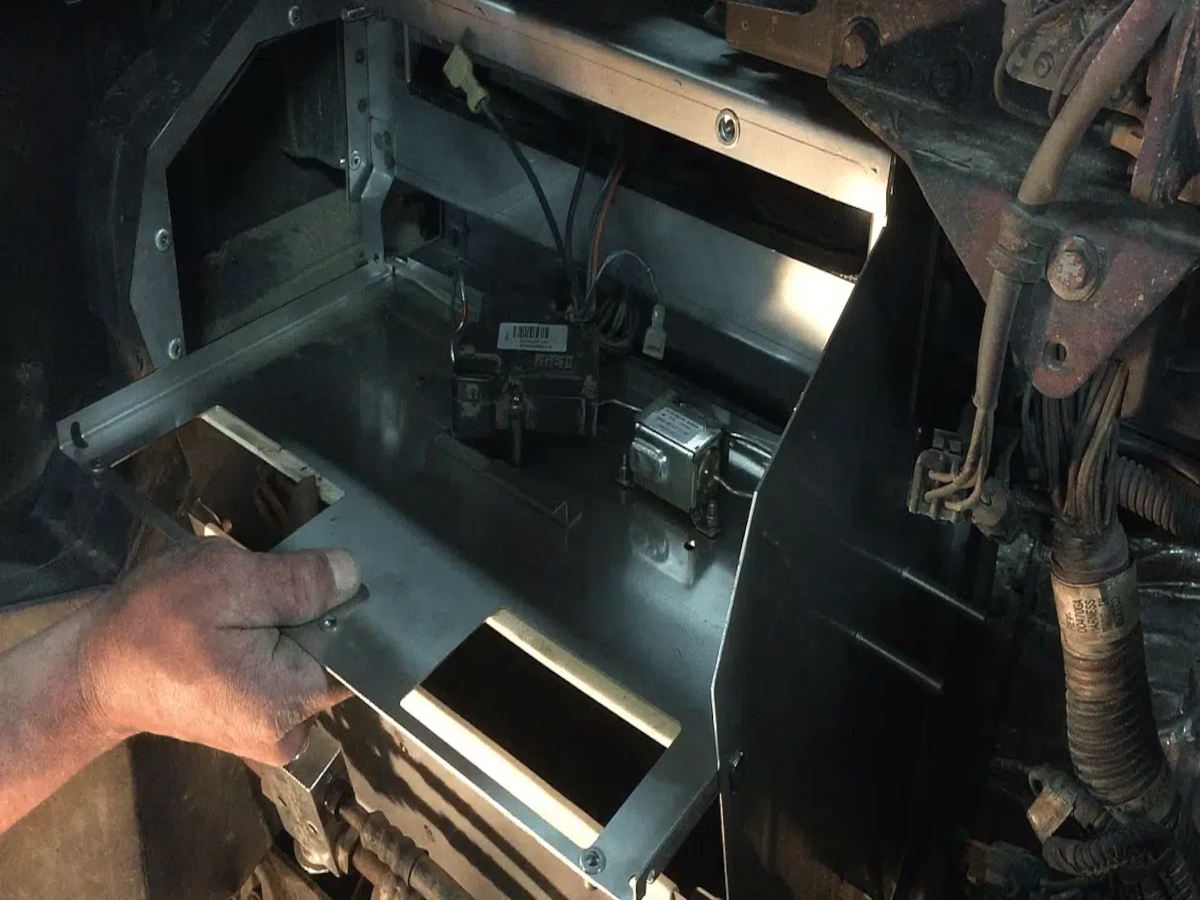
Step 5 – Remove the (3) Philips screws from the recirculation door actuator. (If your truck has an air-operated actuator this step will look slightly different.).
Step 6 – Remove the baffle plate.
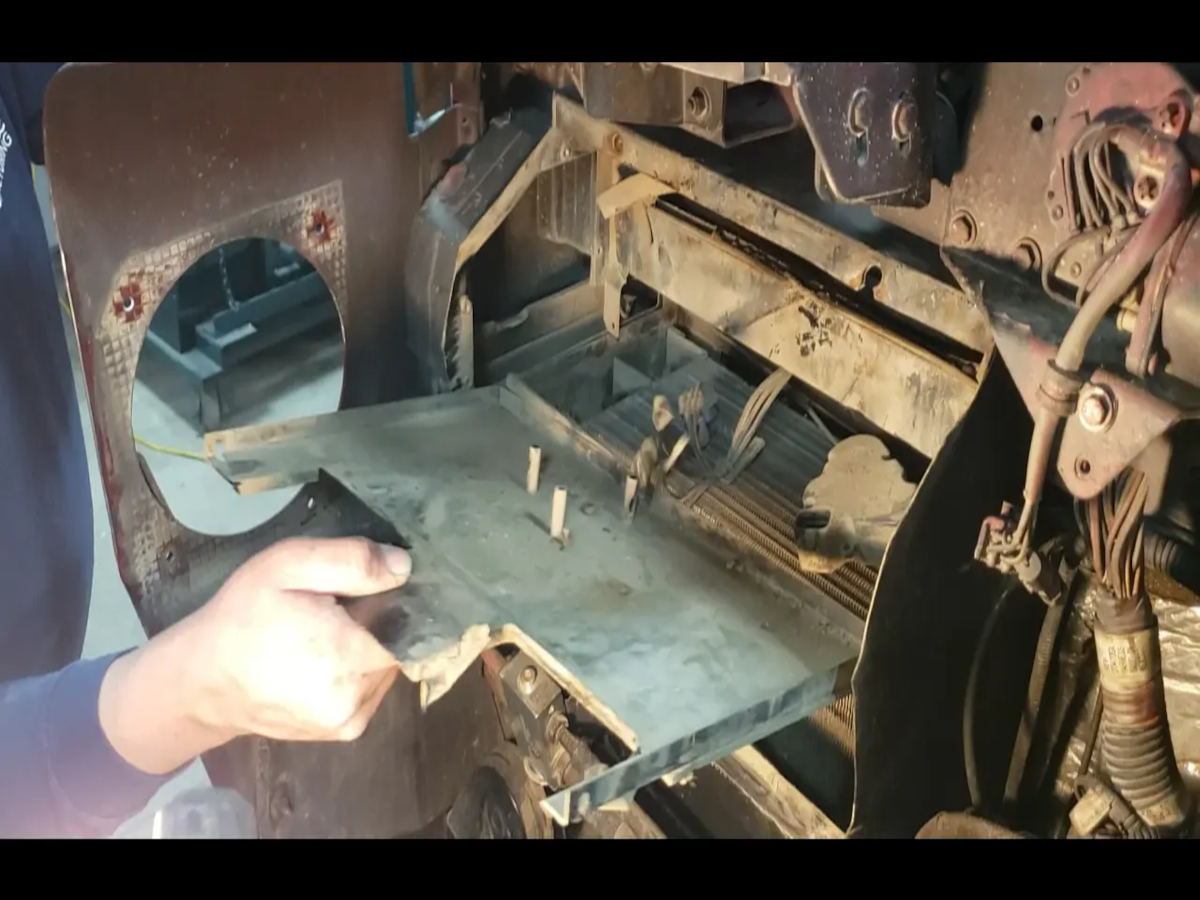
Step 7 – Remove the two coolant lines attached to the heater core. Use hose clamps or hose clamp pliers to prevent loss of coolant.
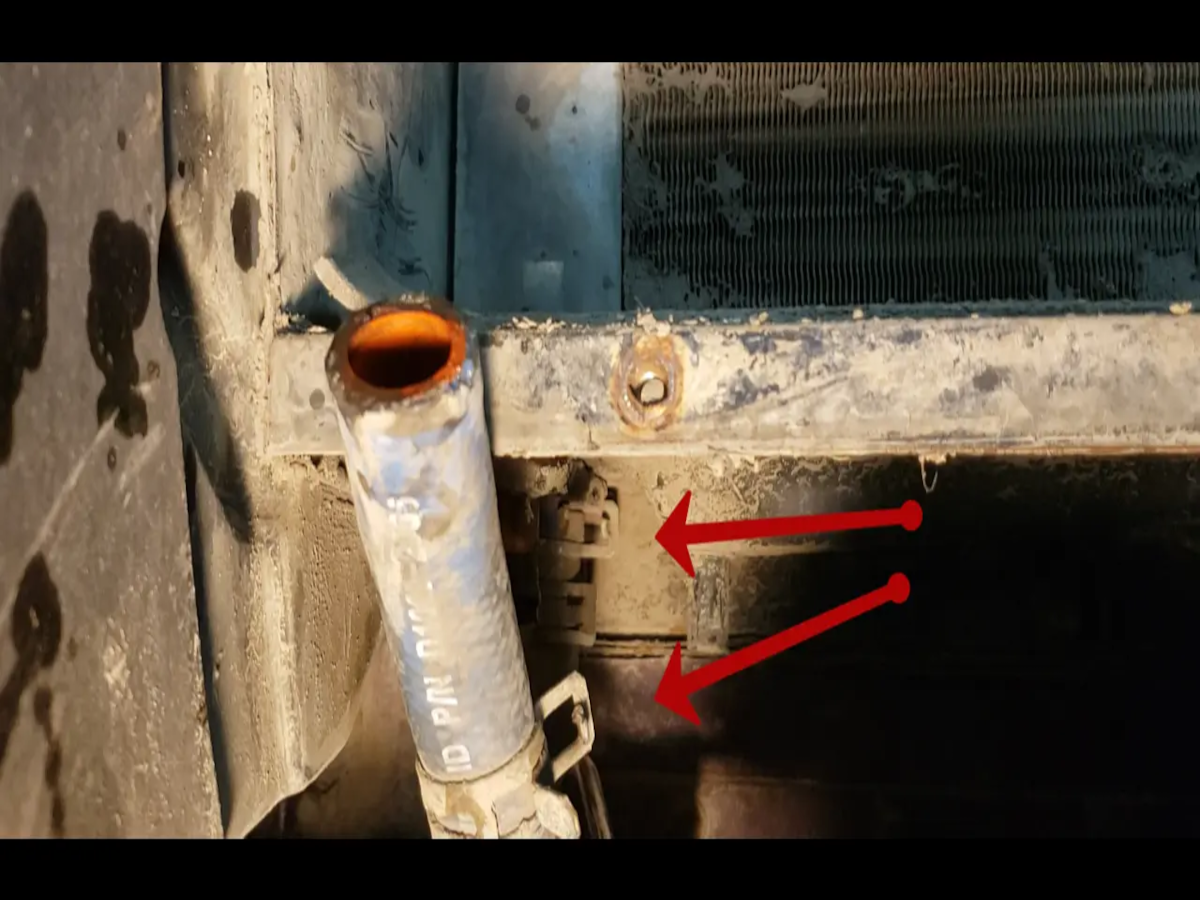
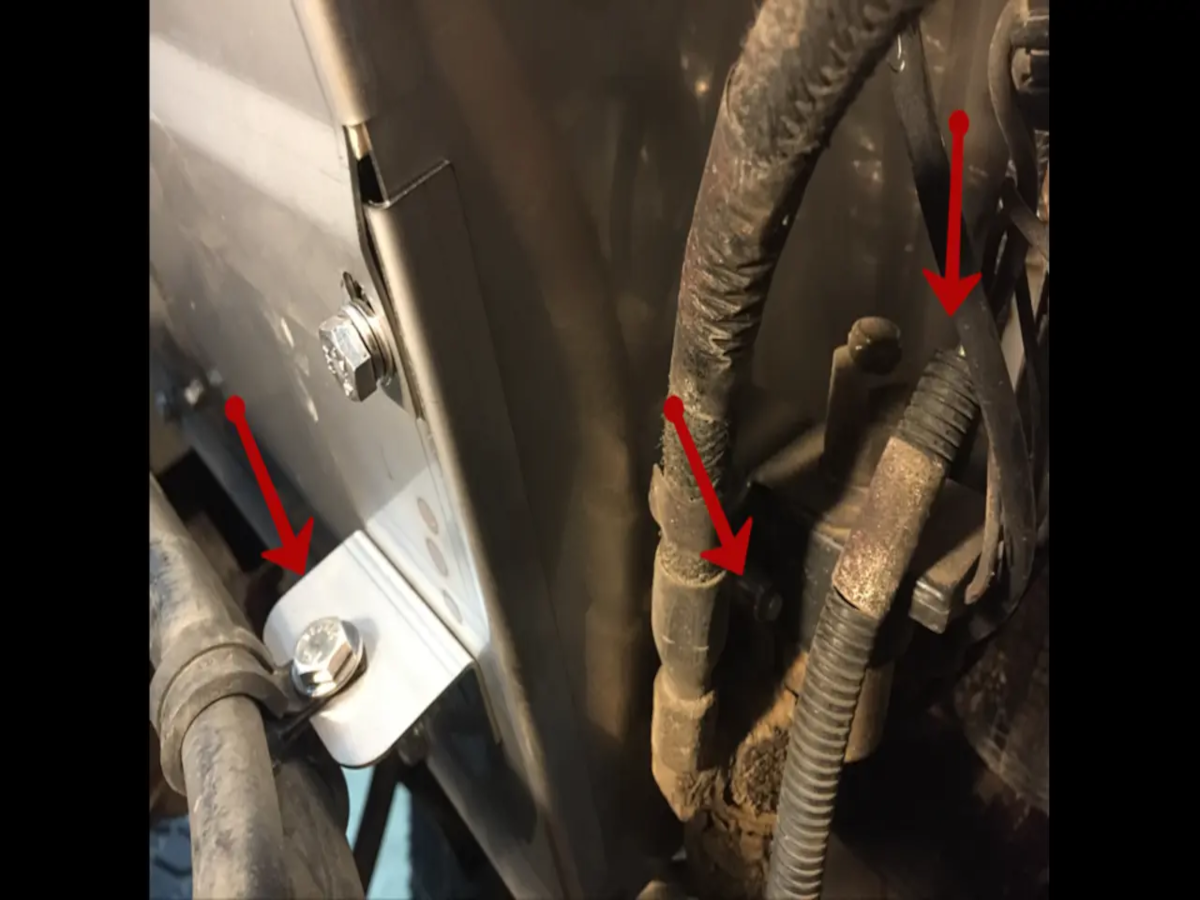
Step 8 – Remove the bracket that attaches the mixing valve cable to the heater box.

Step 9 – Remove all remaining parts from the outside of the heater box.
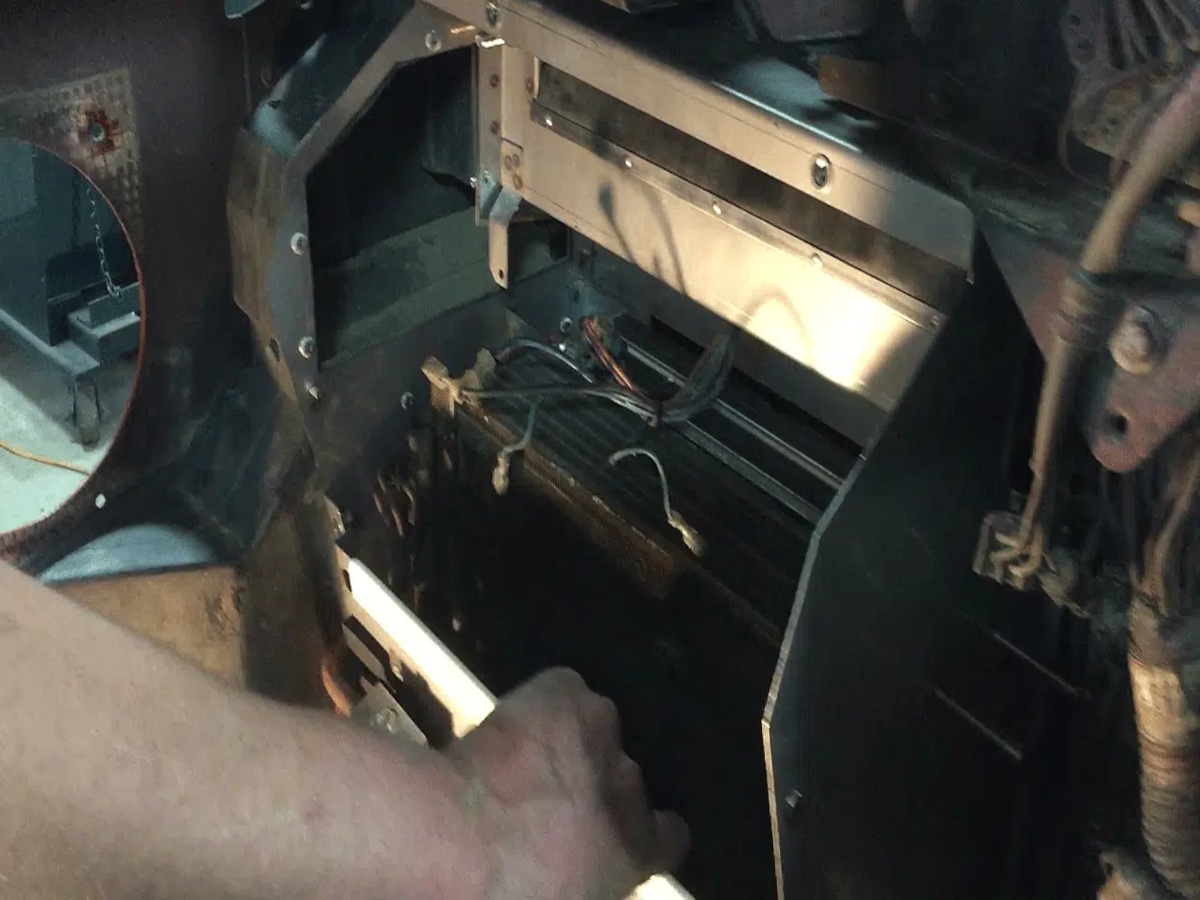
Step 10 – Remove the lower cover.

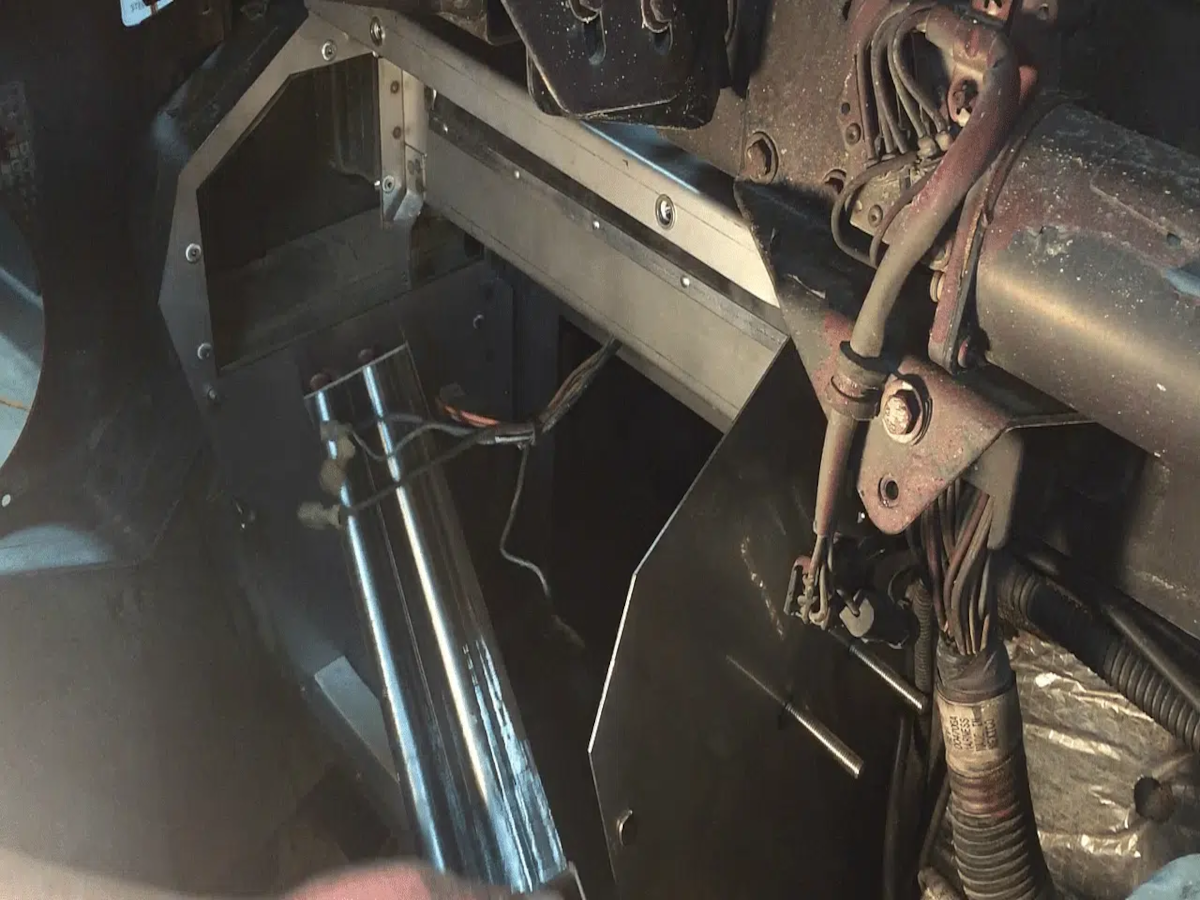
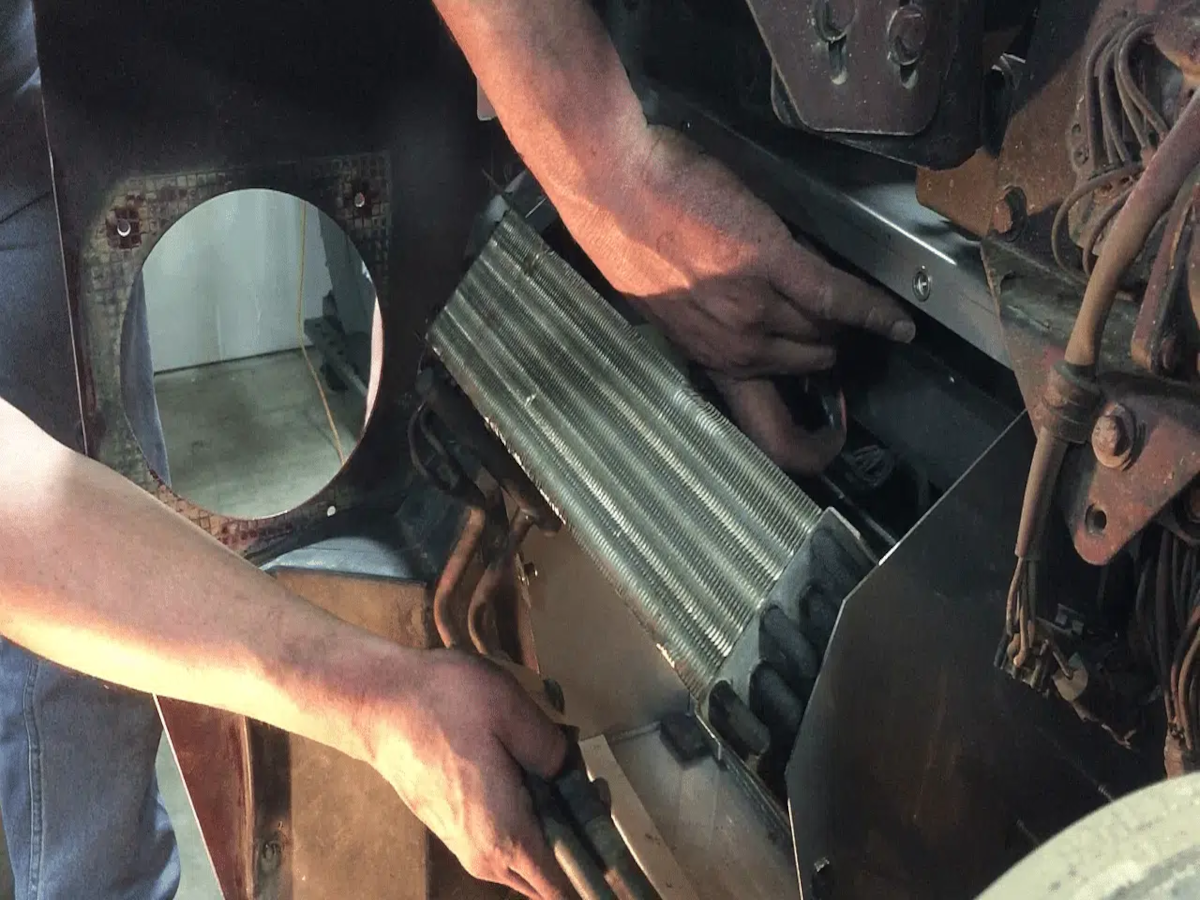
Step 11 – Remove the evap coil and heater core.
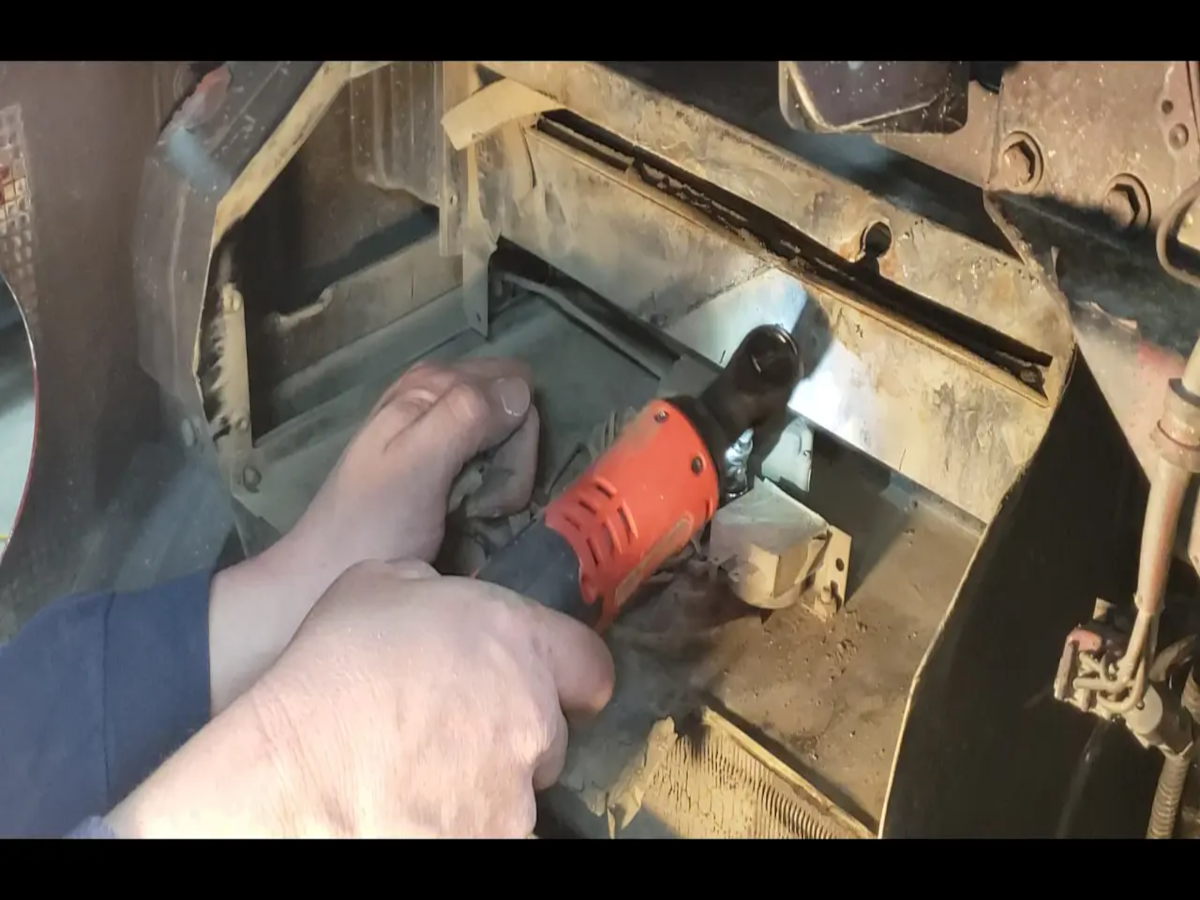
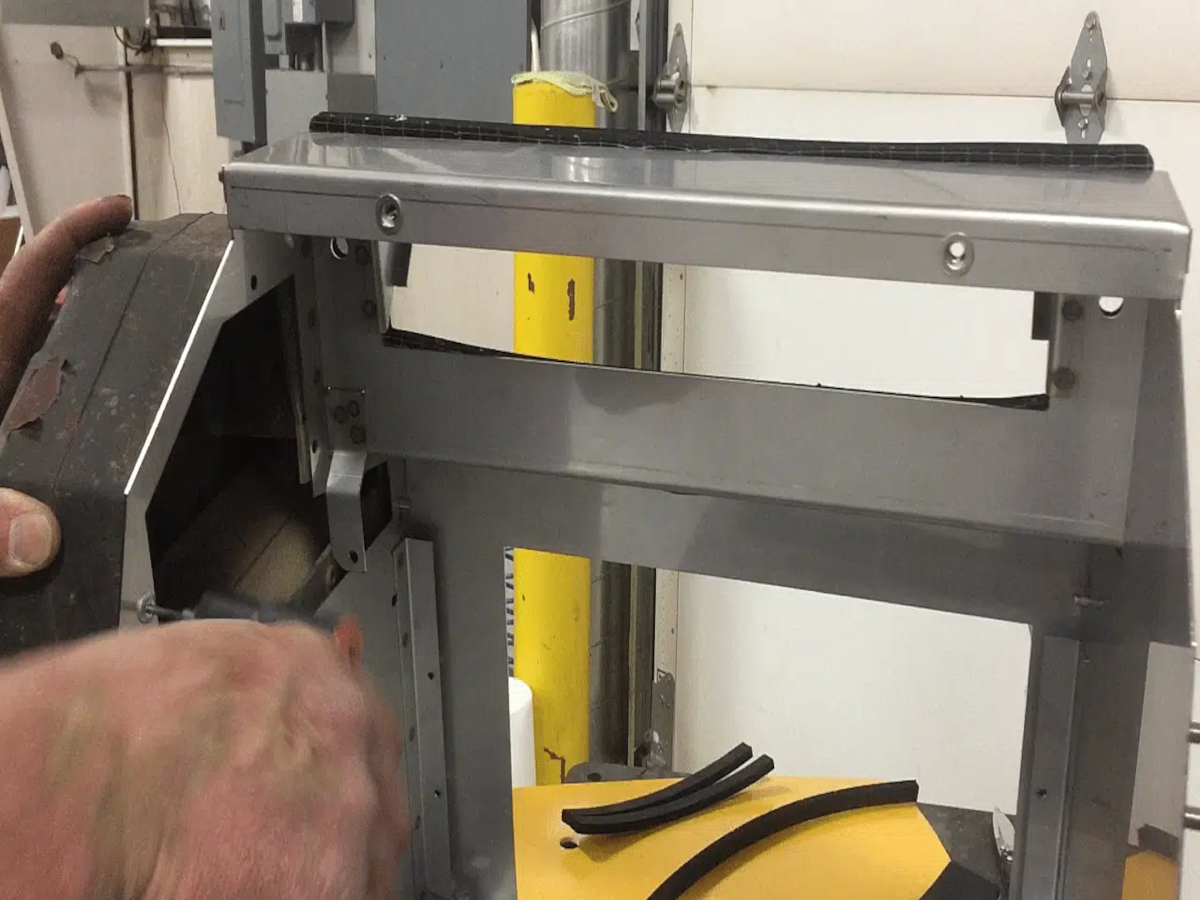
Step 12 – Grind off the top two mounting bolts.

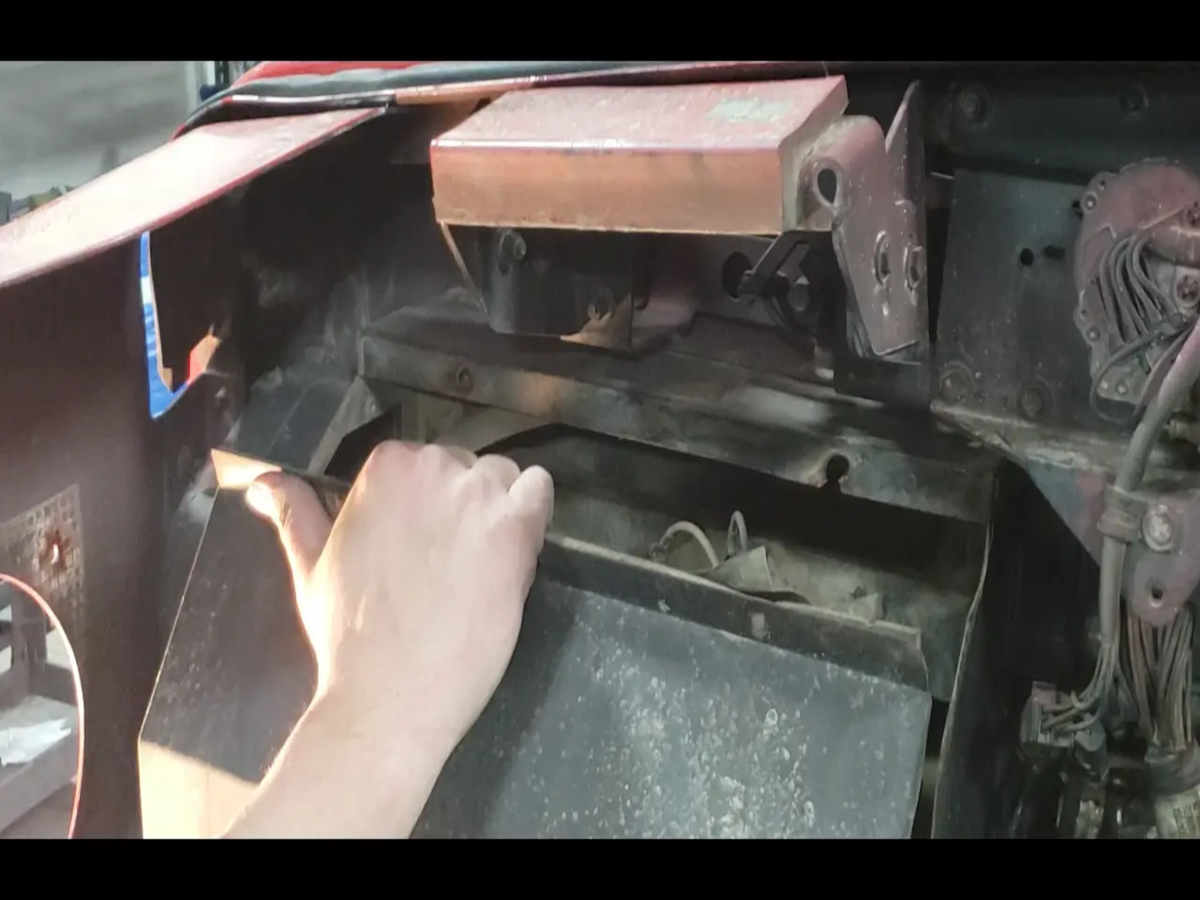
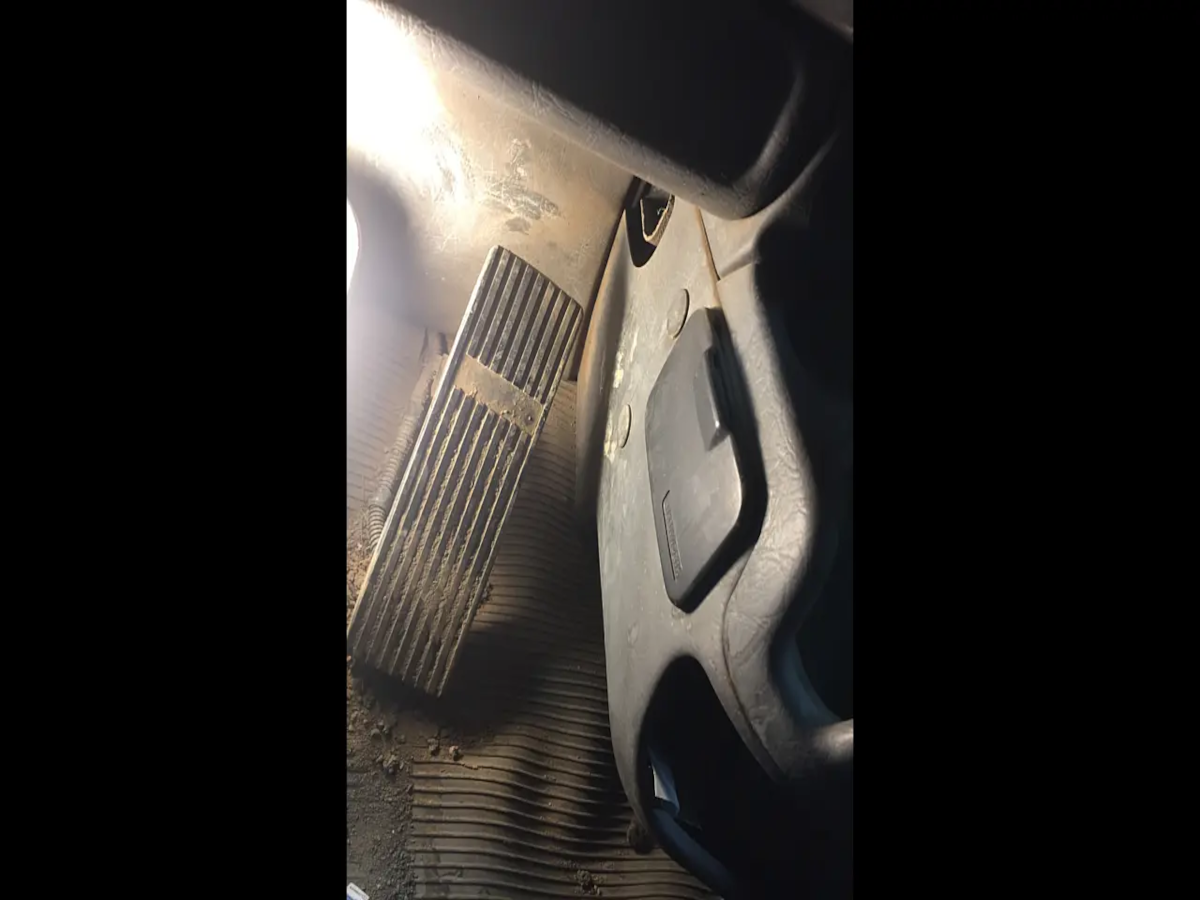
Step 13 – Begin removing the interior. In this T800, we removed (3) Phillips head screws from the passenger side kick panel.
Step 14 – On this T800, there were 4 caps that hid 4 Phillips head screws (Two on each side of the console). Remove these screws and unhook the cigarette lighter to remove the center console.
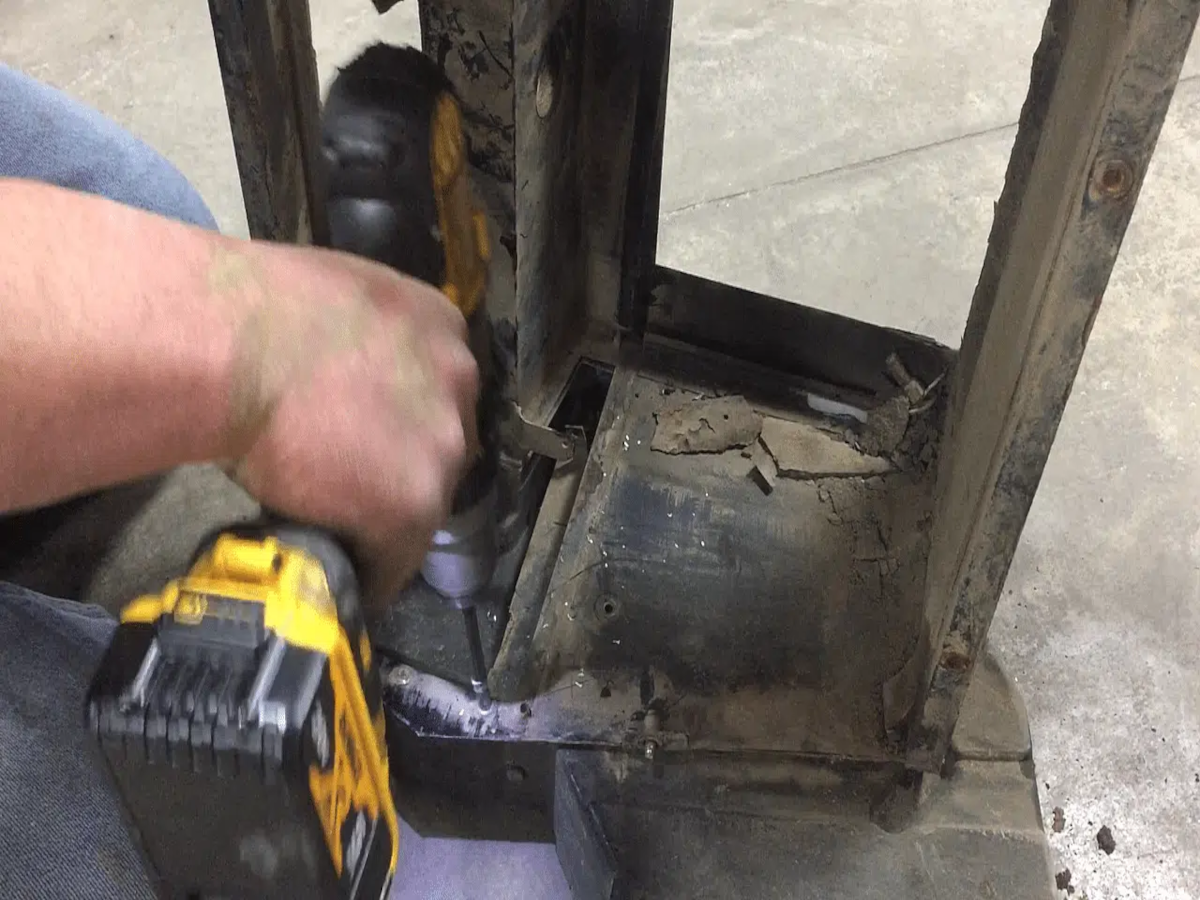
Step 15 – Remove the (2) 13mm nuts and the (1) 13mm bolt that attaches the heater box to the firewall.

Step 16 – Remove the (2) nuts from the air intake shroud. Then remove the box.
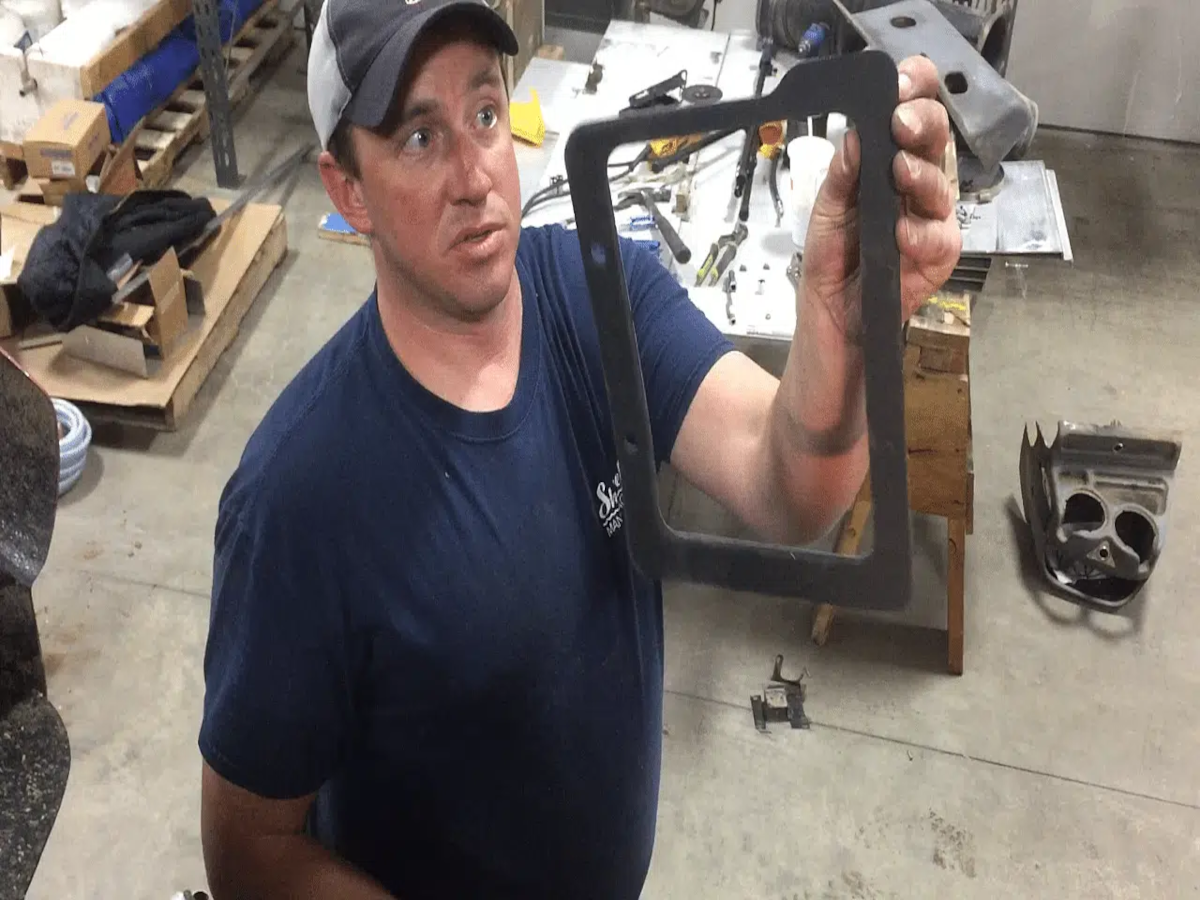
Next, we will be preparing the new Shoreline heater box for installation.
You have a couple of options with this. You can either block off the fresh air intake or remove the fresh air intake from the old box and then attach it to the new Shoreline Box.
Step 17 - Drill out the rivets that attach your fresh air intake to the old heater box.
Step 18 - Attach the fresh air intake using the supplied rivets.
Step 19 - Install Gasket for fresh air intake
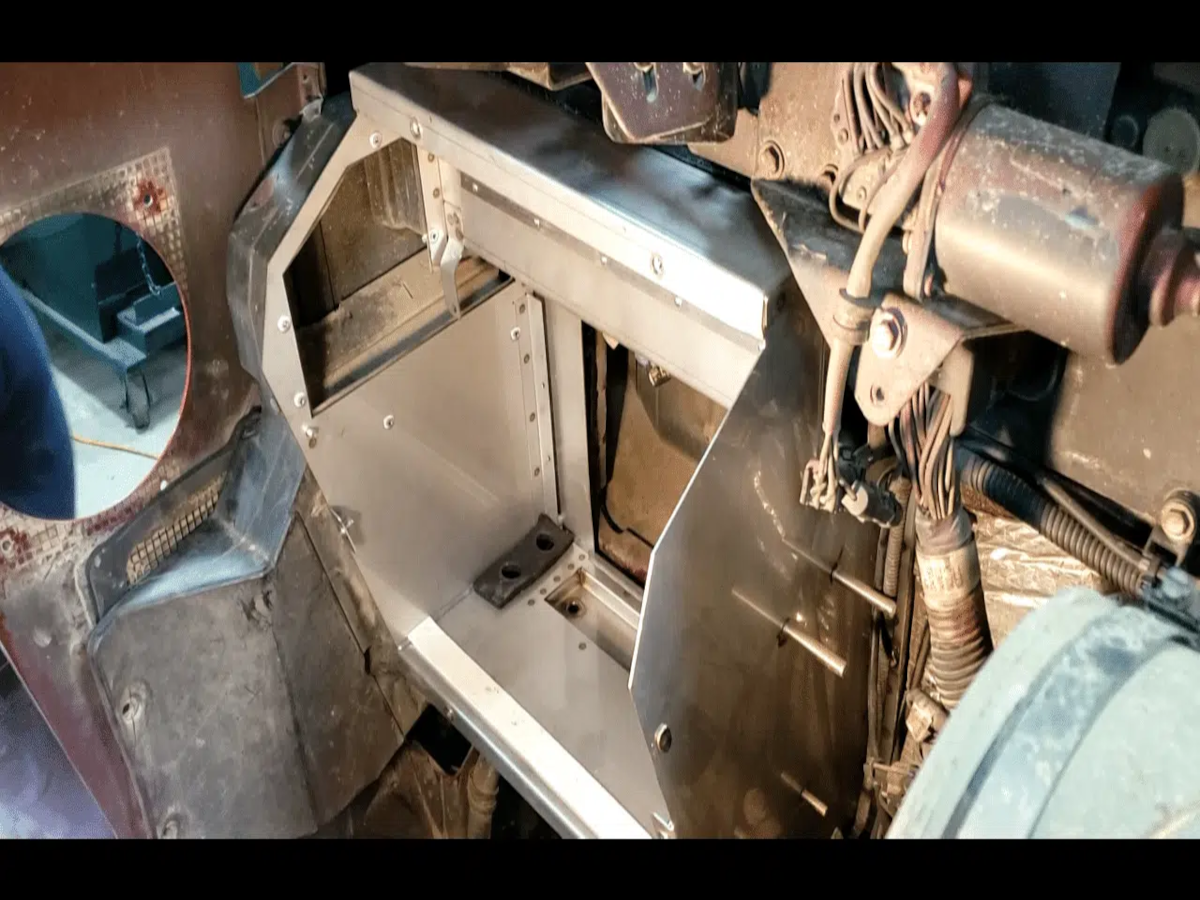
Step 20 - Begin to install the new heater box.
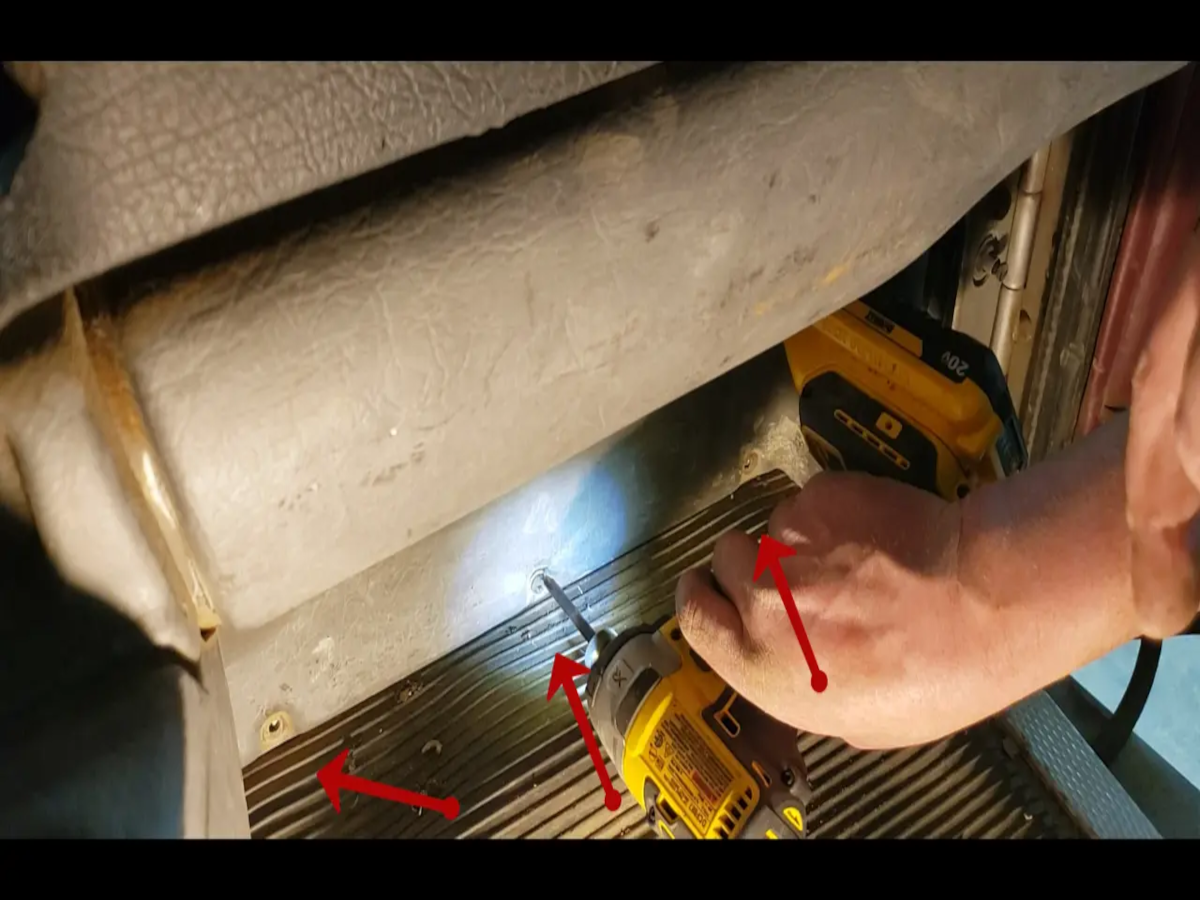
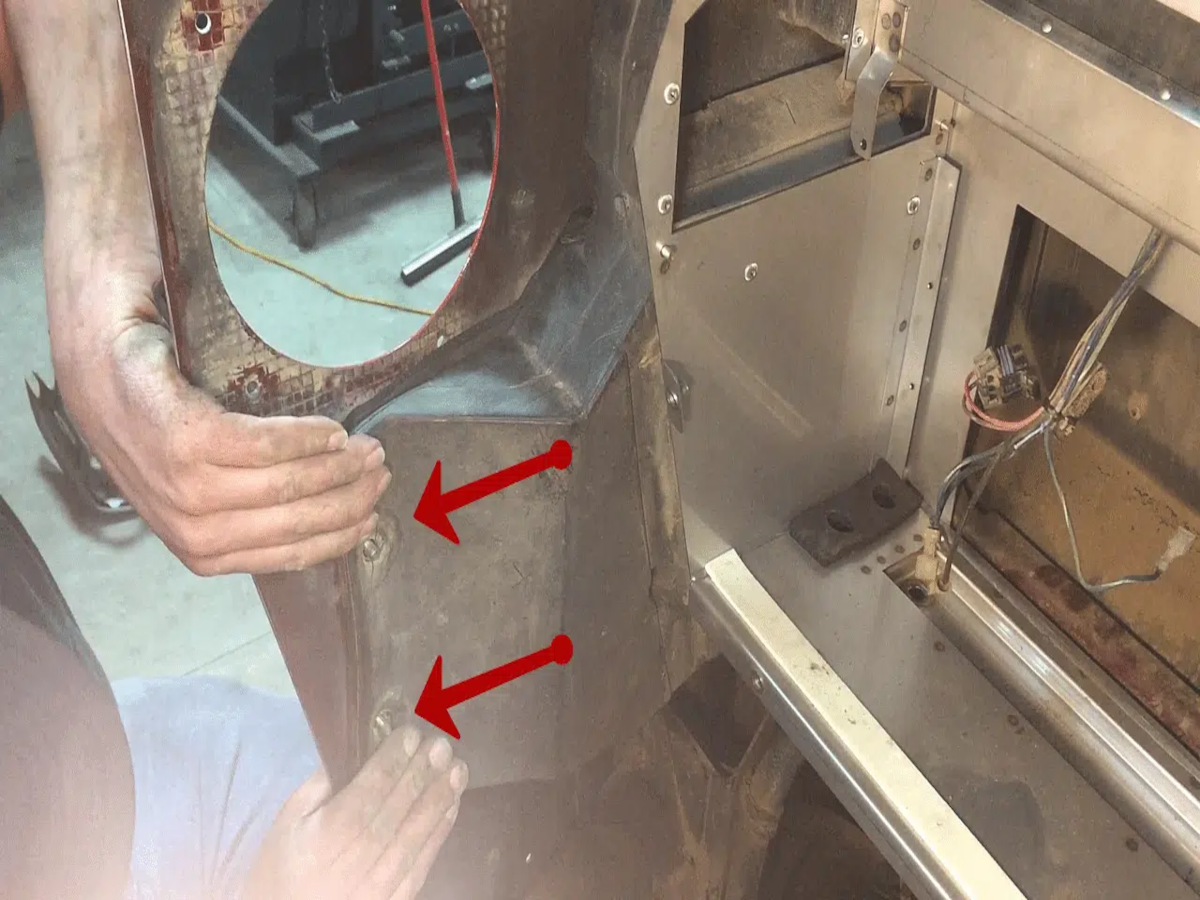
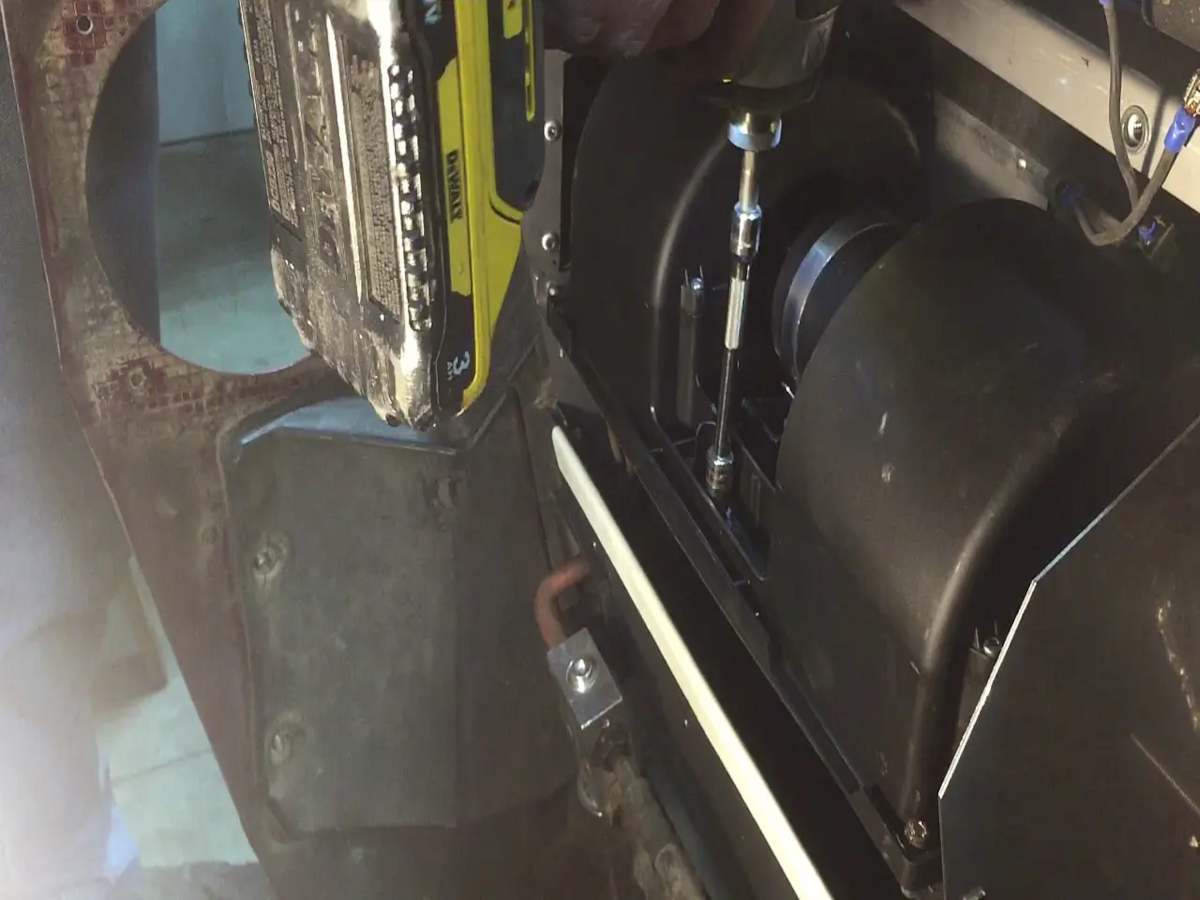
Line up the two bolts on the heater box with the two holes on the firewall.
(We’ve been asked a lot about the installation of the top two bolts. Here’s a quick video showing that process.)
Step 21 - Bolt down heater box.
Use the two supplied nuts and one bolt to mount the heater box into place.

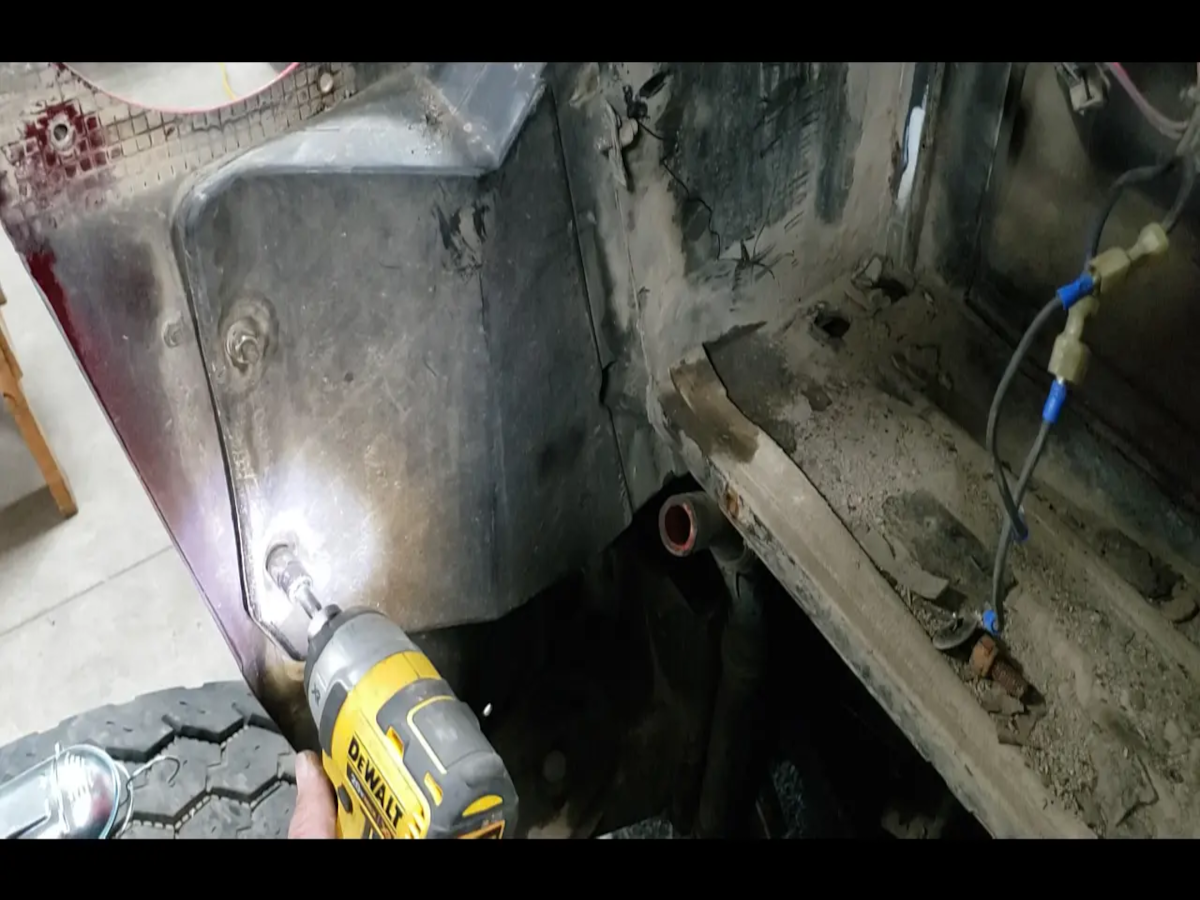
Step 22 - Reattach air intake to the side of the truck.
Step 23 - Install heater core.
Step 24 - Install evaporator coil.
Step 25 - Install lower cover.
Step 26 - Install the baffle plate.
You may find that it is easier to remove the blower motor and then re-install it onto the baffle plate after setting the baffle plate into place.
Step 27 - Install blower motor.
Attach blower motor wiring and remount the blower motor to the baffle plate.
Step 28 - Install blower motor cover.
Use the 4 bolts to attach the cover. After this is done, re-attach hoses and any other accessories that were original attached to your box
